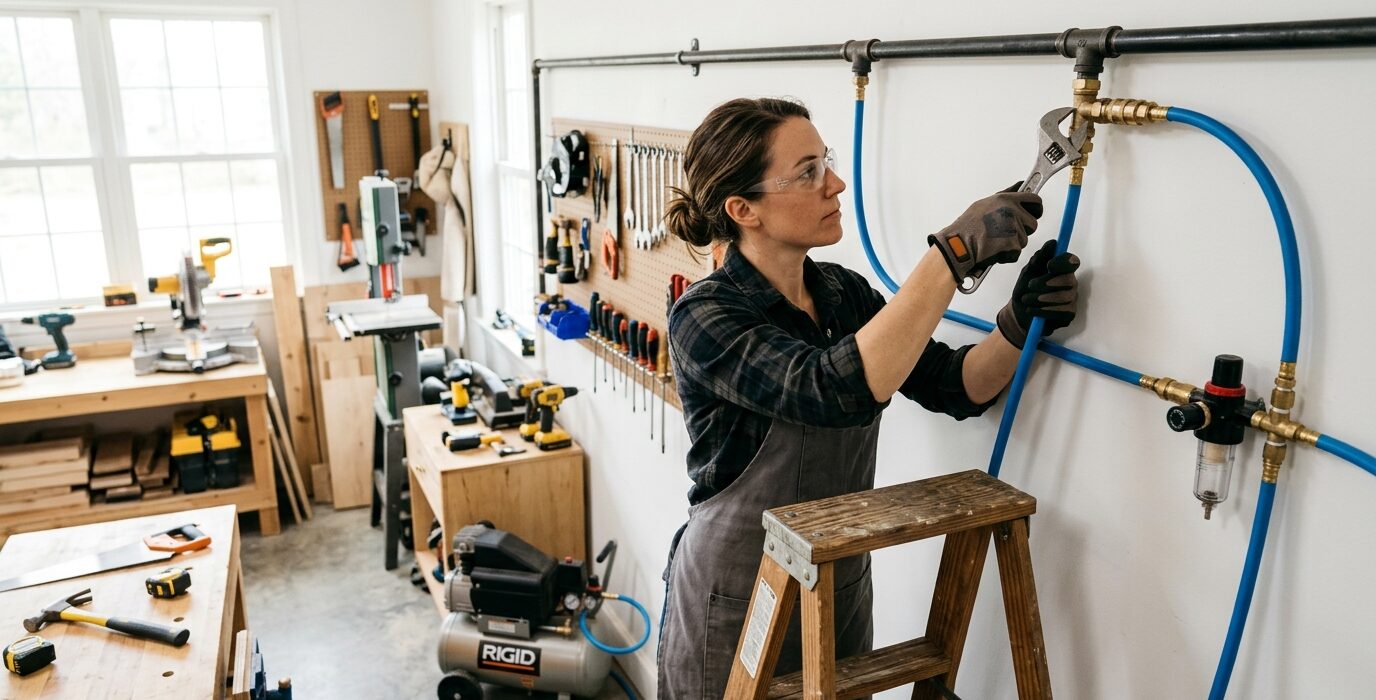
Run Air Lines Through the Shop for Pneumatic Tools
A permanent air line system eliminates the tangle of hoses on the floor and puts compressed air within reach of every machine in the shop. Instead of dragging a 25-foot hose across the floor from the compressor, you connect a short whip hose to a drop from the ceiling or a coupler on the wall – fast, clean, and safe. This is one of the best shop upgrades for anyone who regularly uses pneumatic tools.
Materials
- 3/4-inch black iron pipe or CPVC pipe – sufficient for your shop layout (CPVC is significantly easier to work with)
- Pipe fittings – elbows, tees, nipples, and unions
- Pipe hanger straps for ceiling mounting
- In-line moisture trap – one at the compressor, one at the most distant drop
- Ball valves for each drop for quick shutoff
- Quick-connect fittings at each drop location
Planning the Layout
Start at the compressor and run the main line along the ceiling perimeter of the shop, sizing the diameter for your compressor’s output. For most home shop compressors (5 to 10 CFM at 90 PSI), 1/2-inch pipe is adequate; 3/4-inch is better if you run multiple tools simultaneously. End the main line at a tee or a drain leg – a short vertical pipe pointing down that allows moisture to drain from the main line.
Step 1 – Install the Main Line
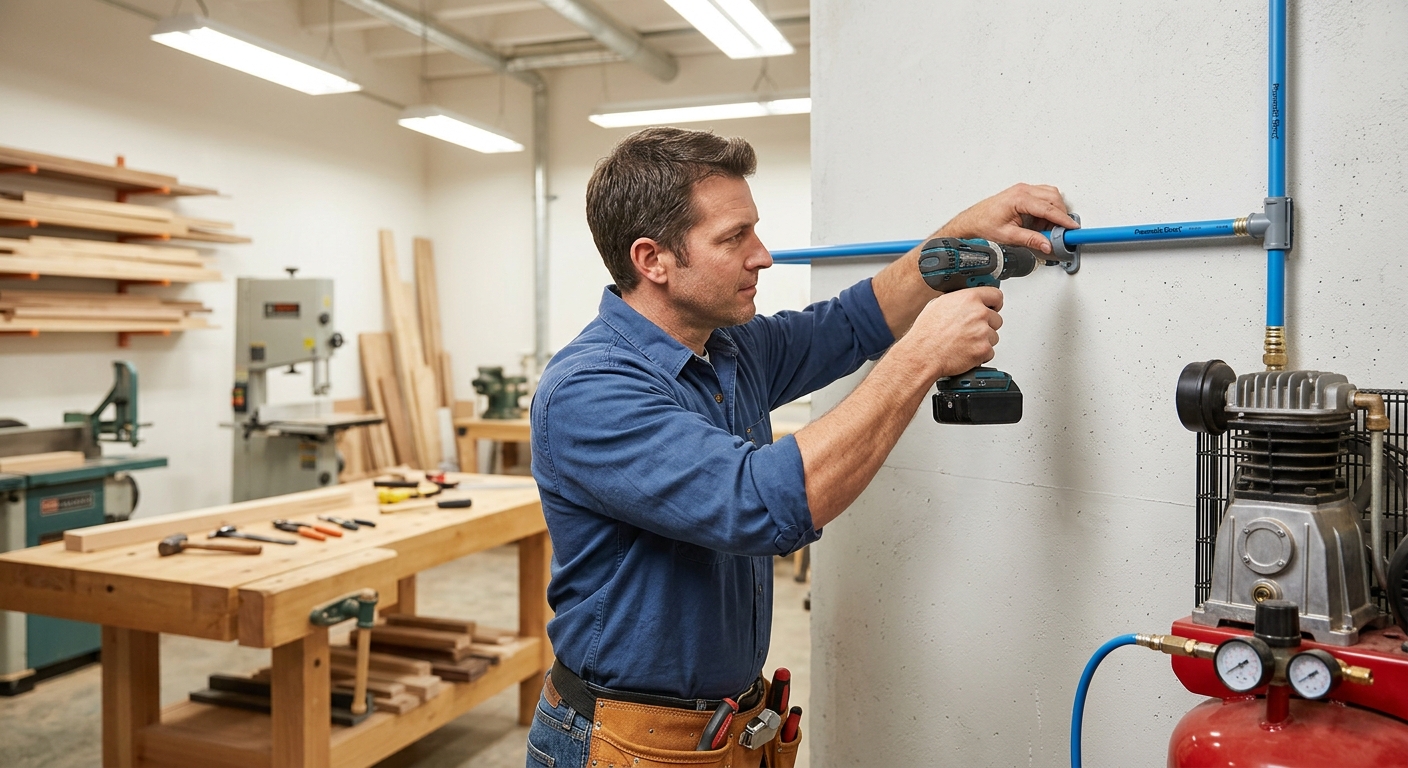
Run the main line from the compressor along the ceiling to the far wall of the shop. Use pipe hangers every 4 to 6 feet for support. Include a union in the main line near the compressor so you can disconnect the system from the compressor without dismantling the plumbing.
Step 2 – Add Drop Lines
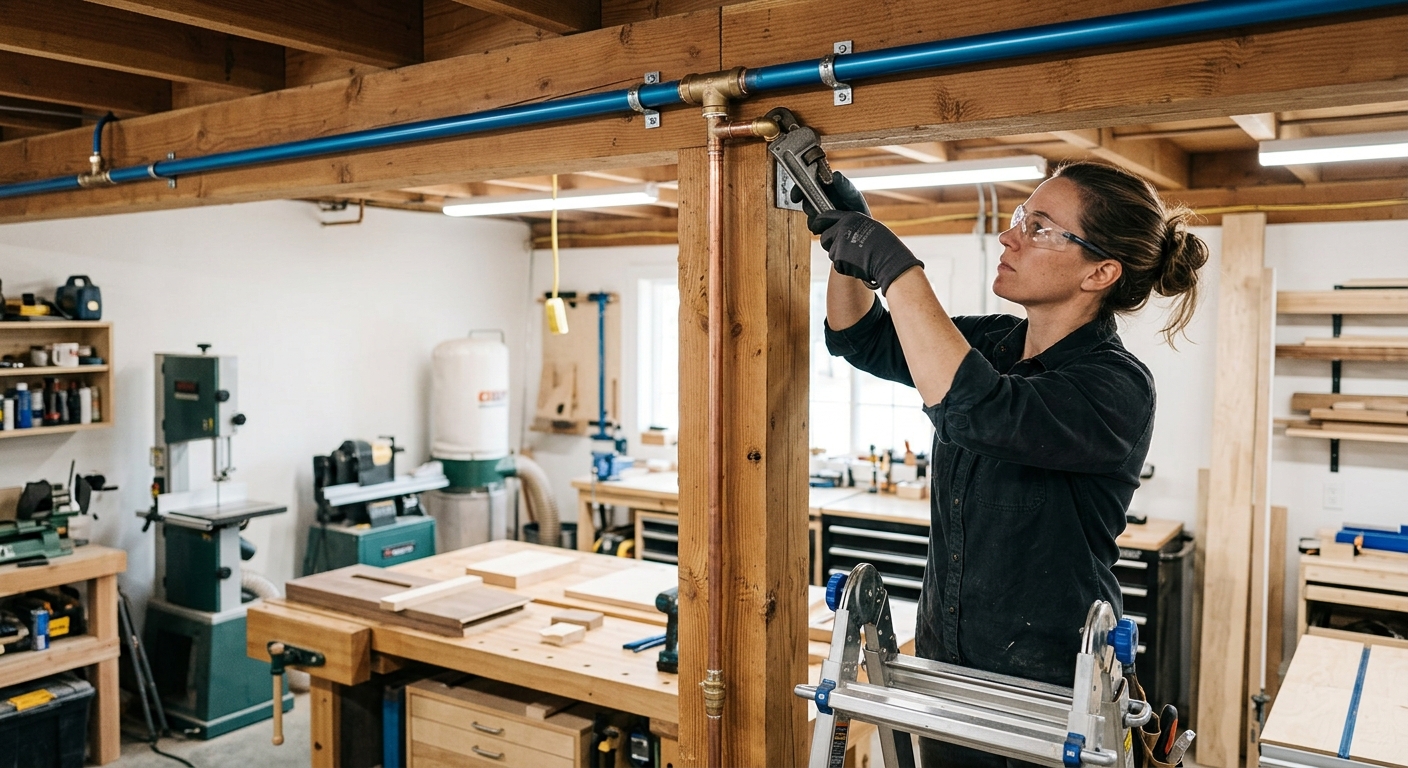
Drop lines branch from the main line down the walls or from the ceiling directly to the work areas. Install a tee in the main line at each drop location, then a short run of pipe down to a convenient coupler height (about 5 feet from the floor for wall drops, or at ceiling height for ceiling drops). Install a ball valve at each drop before the quick-connect fitting.
Step 3 – Install Moisture Traps
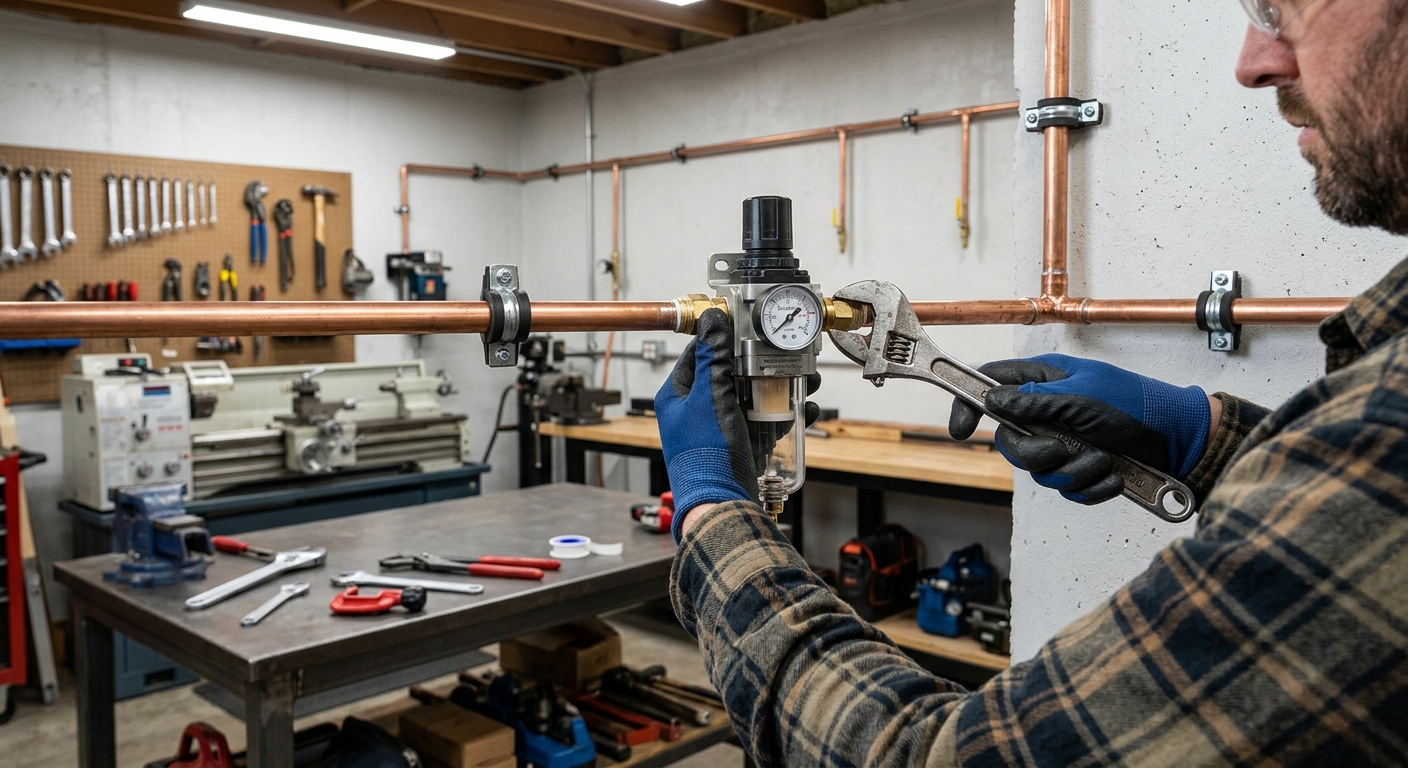
Compressed air carries moisture that damages pneumatic tools and ruins finish work. Install an inline moisture separator at the compressor outlet and additional filters/separators at any drop used for finish work (painting, spraying). Drain the moisture traps regularly – at least once a week during high-humidity seasons.
Step 4 – Pressure Test Before Use
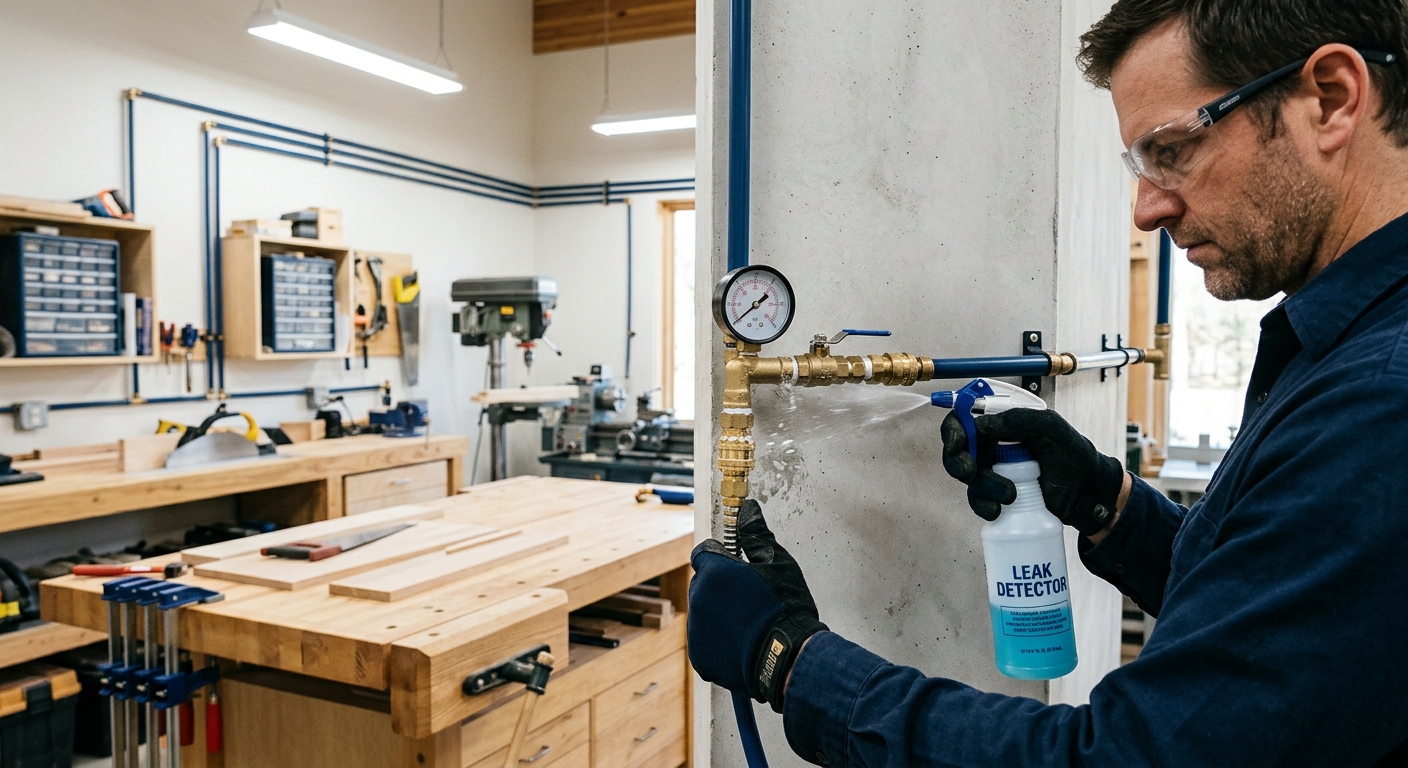
Before connecting tools to the new system, charge it to full working pressure (typically 90 to 120 PSI) with all drops capped. Use soapy water on every joint to check for leaks. Even small bubbles indicate a leak that will drain your compressor over time. Tighten any leaking joints with pipe wrenches and retest.
FAQ
Can I use PVC pipe for air lines? No – never use PVC pipe for compressed air. PVC shatters when it fails (rather than bending like metal) and the flying fragments are lethal. Use only black iron pipe, galvanized pipe, copper, or CPVC (not regular PVC) for compressed air lines.
How many drops do I need? Plan one drop for each major work zone: the bench, the table saw area, the finishing area, and any spray paint booth. Four to six drops is typical for a two-car garage shop.