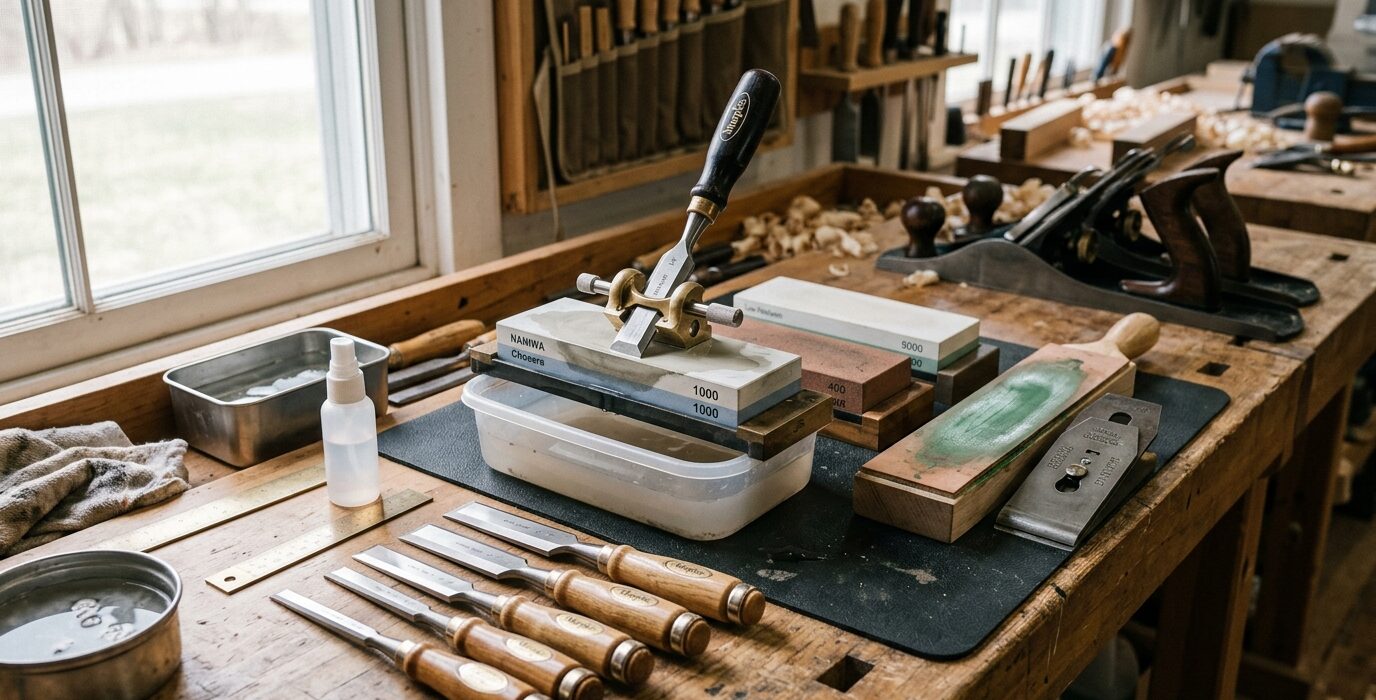
A Mobile Sharpening Station
Sharpening is the one shop task that benefits from being able to take the station to the tool rather than the tool to the station. A mobile sharpening station rolls to wherever you’re working – the bench, the shaving horse, the carving station – and rolls back to its home position when done. It holds everything for your sharpening system and doesn’t require a dedicated wall location in a small shop.
Design Overview
The mobile sharpening station is a small rolling cart: a work surface at a slightly higher height than the workbench (for comfortable stone work without stooping), storage for stones, strop, honing guide, and compounds below, and hooks or holders for tools waiting to be sharpened. The whole unit rolls on two or four casters.
Materials
- 3/4-inch plywood for the cart structure
- Hardwood legs or 2×4 lumber
- Two locking casters for the rear, two fixed wheels (or swivel) for the front
- Holders for stones – simple wooden frames with rubber feet
- Leather strop mounted to a plywood board
Step 1 – Determine the Right Height
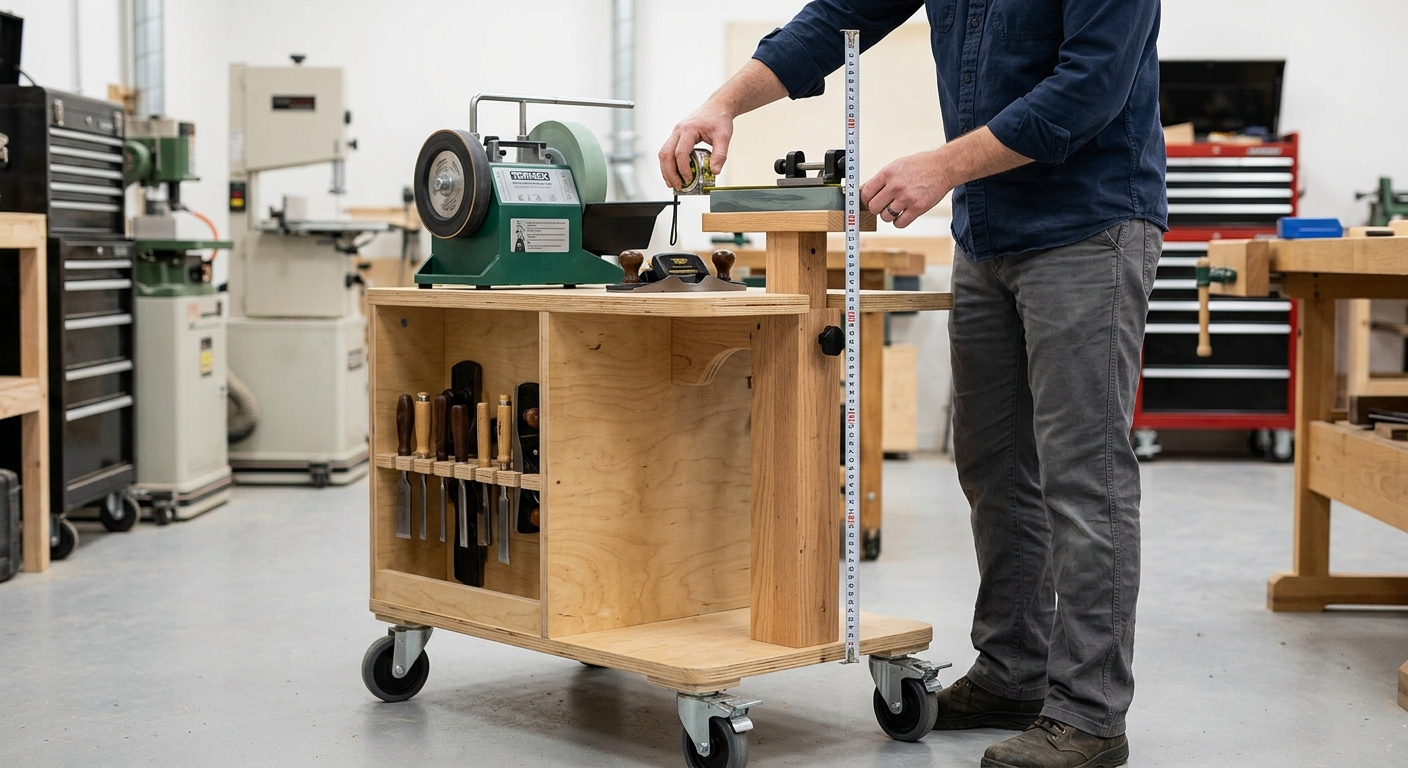
For sharpening with waterstones or diamond stones using a honing guide, 36 to 38 inches is comfortable for most people – you’re applying downward pressure and you want the stone at a height where your shoulders are relaxed, not raised. If you sharpen freehand, go slightly higher for better visibility of the bevel angle.
Step 2 – Build the Cart Structure
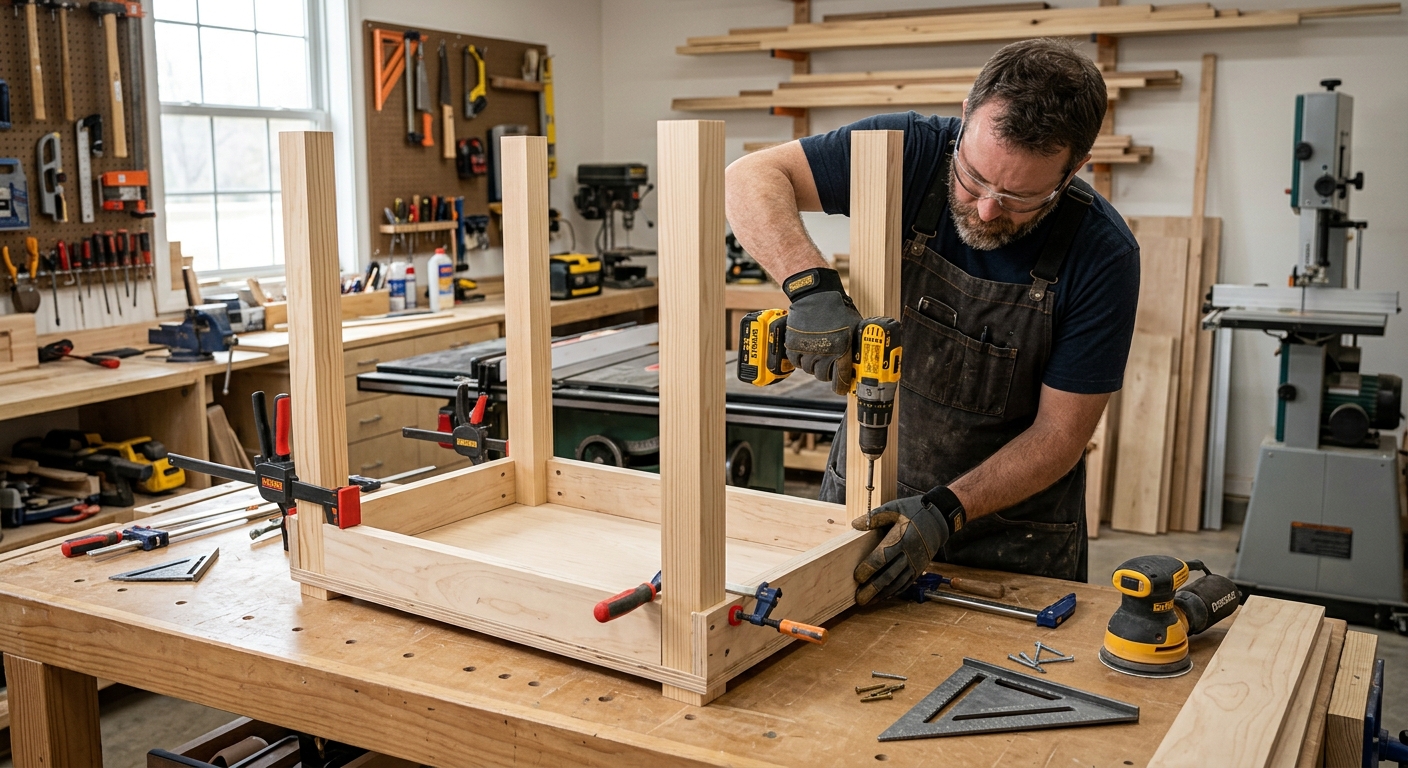
Build a simple plywood cabinet at the target height. Include a top work surface and shelves below for all sharpening equipment. The interior space should be large enough to store stones upright (where water drains from them between uses) and the strop board lying flat. A small drawer for honing compound, markers, and small accessories is a useful addition.
Step 3 – Build Stone Holders for the Work Surface
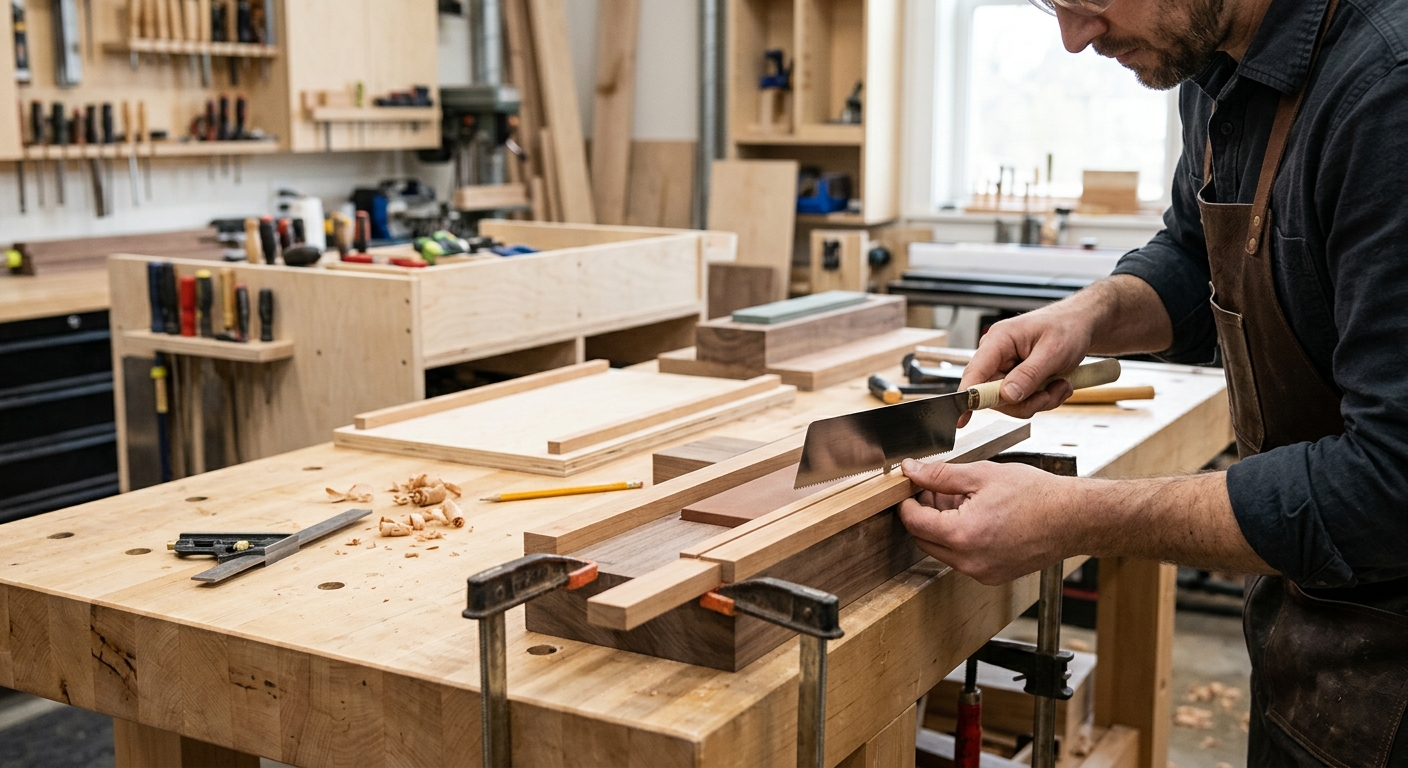
Make stone holders from 3/4-inch plywood: a rectangular frame slightly larger than each stone with rubber feet on the bottom. The stone sits in the frame, which prevents it from sliding during use. Build one holder for each stone in your progression. Stack them on the shelf when not in use.
Step 4 – Add Casters
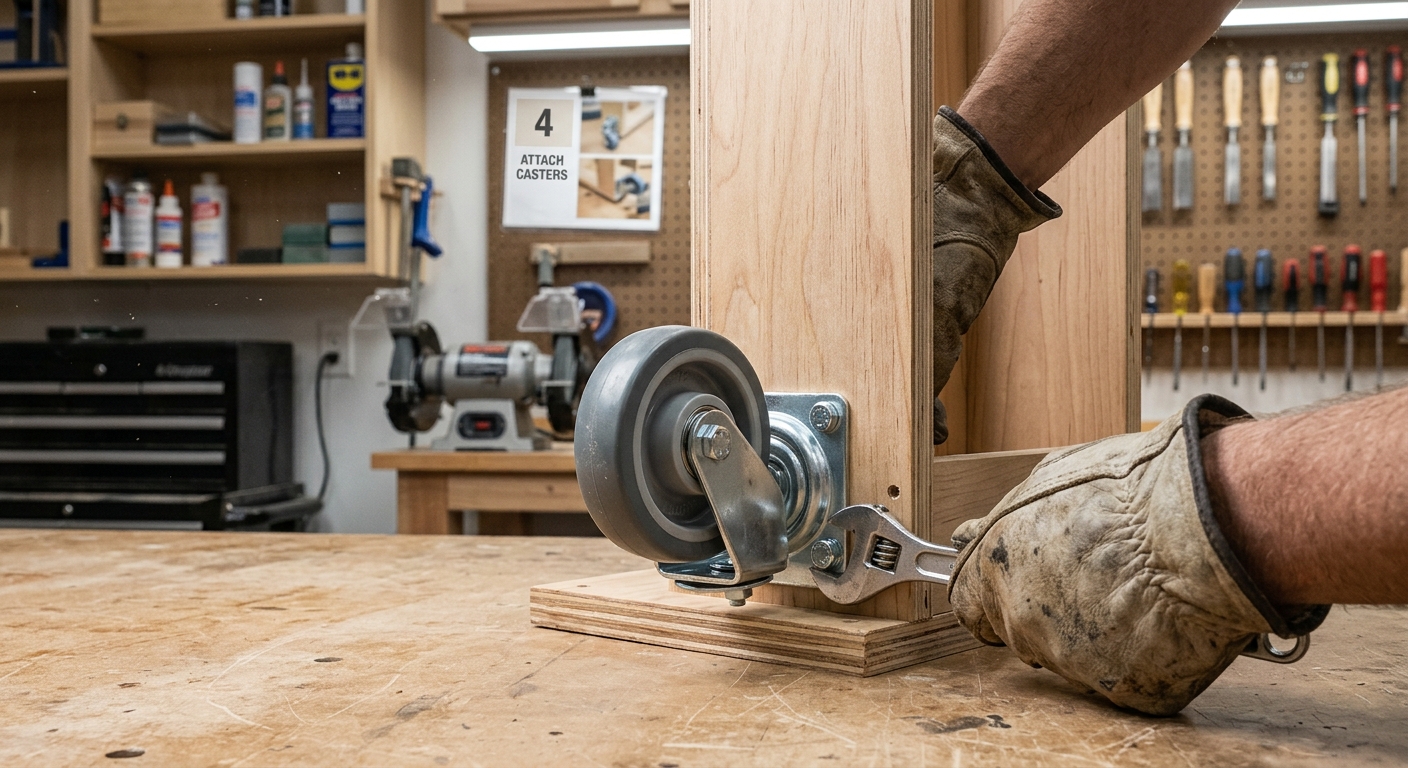
Two rear casters (locking) and two front casters (fixed or swivel) let you roll the cart easily. Lock the rear casters when using the station – it shouldn’t move while you’re bearing down on a stone. Choose casters rated for at least 200 pounds total for a loaded cart.
Step 5 – Add a Tool Holder
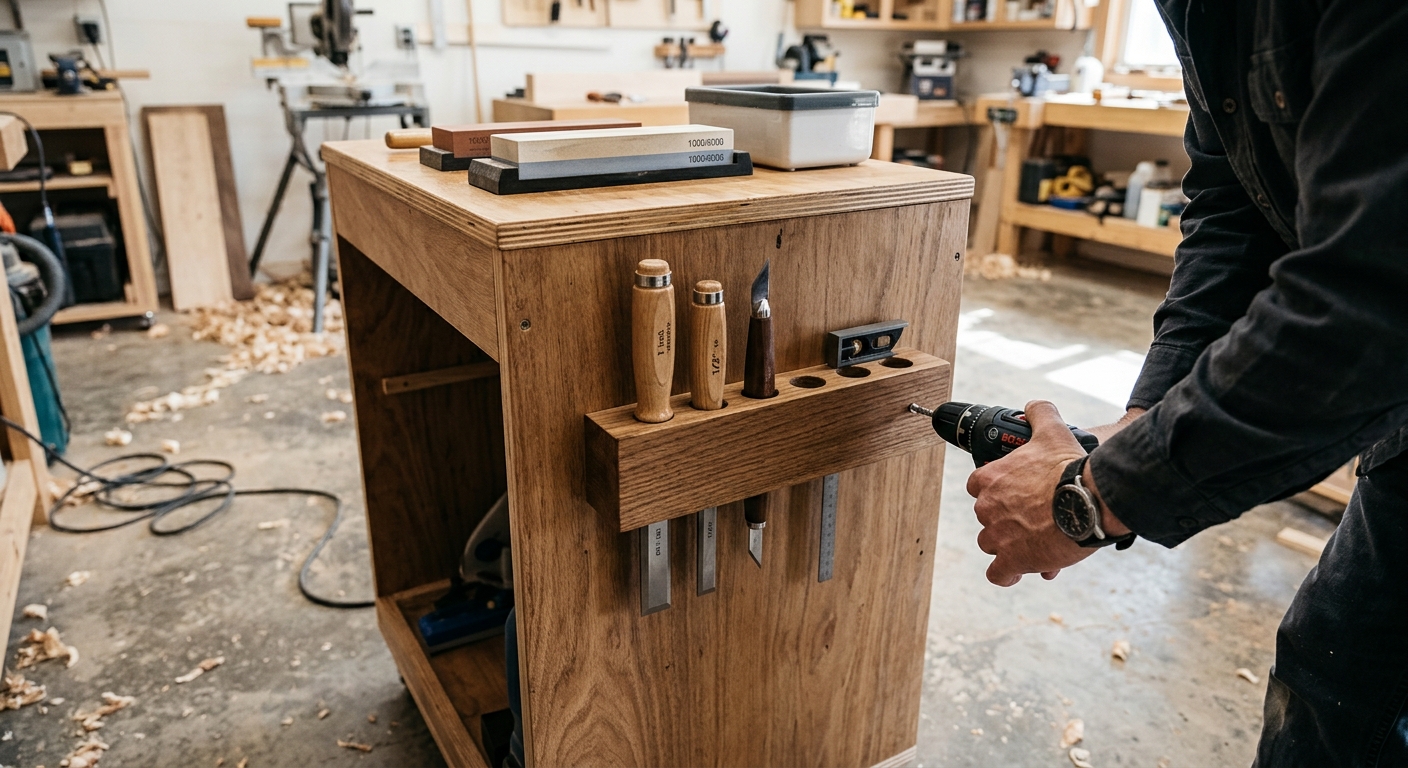
A simple wooden rack on one side of the cart holds chisels and plane irons waiting to be sharpened. This keeps them organized and prevents them from rolling off the bench while you’re working on another tool. A simple magnetic strip or a series of holes in a plywood strip both work well.
FAQ
How is this better than a fixed sharpening station? For small shops where every square foot counts, a mobile station can live in a corner or under the bench when not in use and roll to any position in the shop when needed. The flexibility compensates for the slightly less stable platform compared to a fixed built-in station.
What if I use a water stone system? Build a small trough system on the cart top to contain water drips. Lined with a plastic bin tray, the water stays on the cart and drains into a bucket below when you’re done.