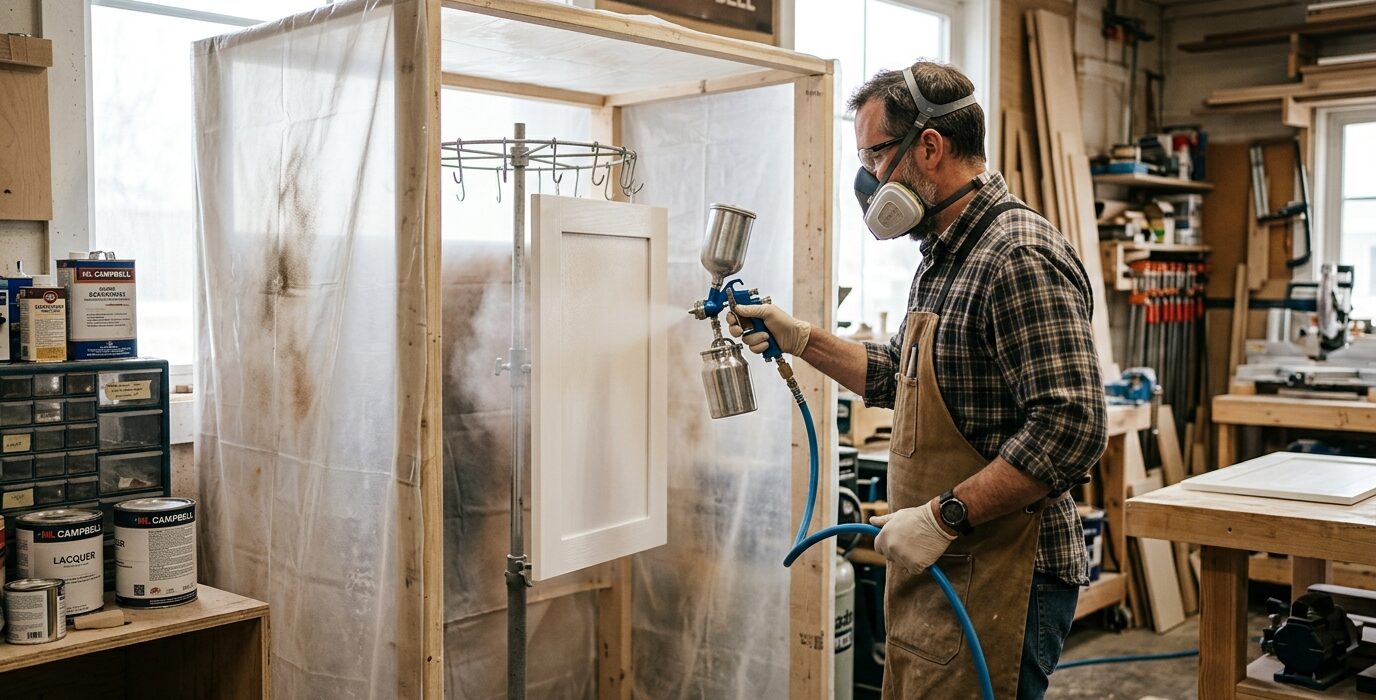
Setting Up a Spray Finishing Area That Works
Spray finishing in a home shop presents three challenges: overspray contamination, solvent fumes and fire hazard, and inadequate lighting. A properly set up spray area manages all three. It doesn’t require a dedicated booth – a tarp-lined zone in the garage with proper ventilation and lighting does the job safely and with excellent results.
Ventilation First
This is not optional. Solvent-based finishes produce explosive vapors that accumulate at floor level. A properly positioned exhaust fan must move the vapors out of the spray area before they reach concentrations that could ignite. The fan must be explosion-proof (designed for flammable vapor environments) – a standard box fan will ignite solvent vapors. Read this twice: a standard fan will cause an explosion. Use only explosion-proof fans or use water-based finishes exclusively.
Materials
- Plastic sheeting or fire-retardant canvas tarps for the spray zone walls
- Explosion-proof exhaust fan (if using solvent finishes) – or a standard fan for water-based finishes only
- LED shop lights (LEDs have no hot surfaces that could ignite vapors)
- Paper masking roll for protecting the floor
- Turntable for rotating workpieces during spraying
Step 1 – Define the Spray Zone
Pick a corner of the garage away from the main work area, close to a window or door for exhaust. Mark the zone with tape on the floor – approximately 10 x 10 feet is comfortable for most projects. This zone will be draped with plastic during finishing sessions and cleared afterward.
Step 2 – Install Ventilation
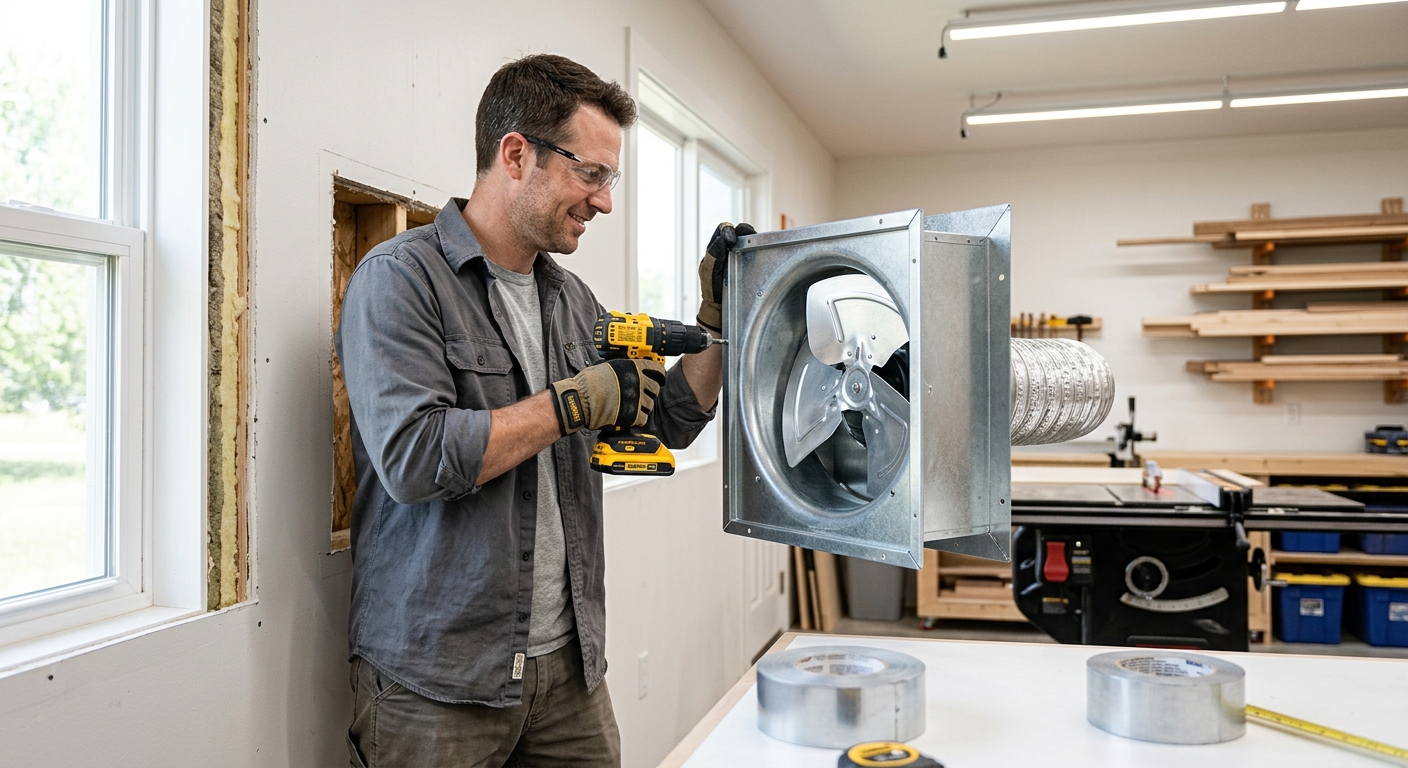
Position an exhaust fan in the window or door at one end of the spray zone. For water-based finishes only, a standard fan works. For solvent finishes, use only an explosion-proof fan with a TEFC motor. The fan should create positive airflow from the sprayer toward the exhaust – you spray from outside the fan’s exhaust path, not with the fan blowing toward you.
Step 3 – Set Up Lighting
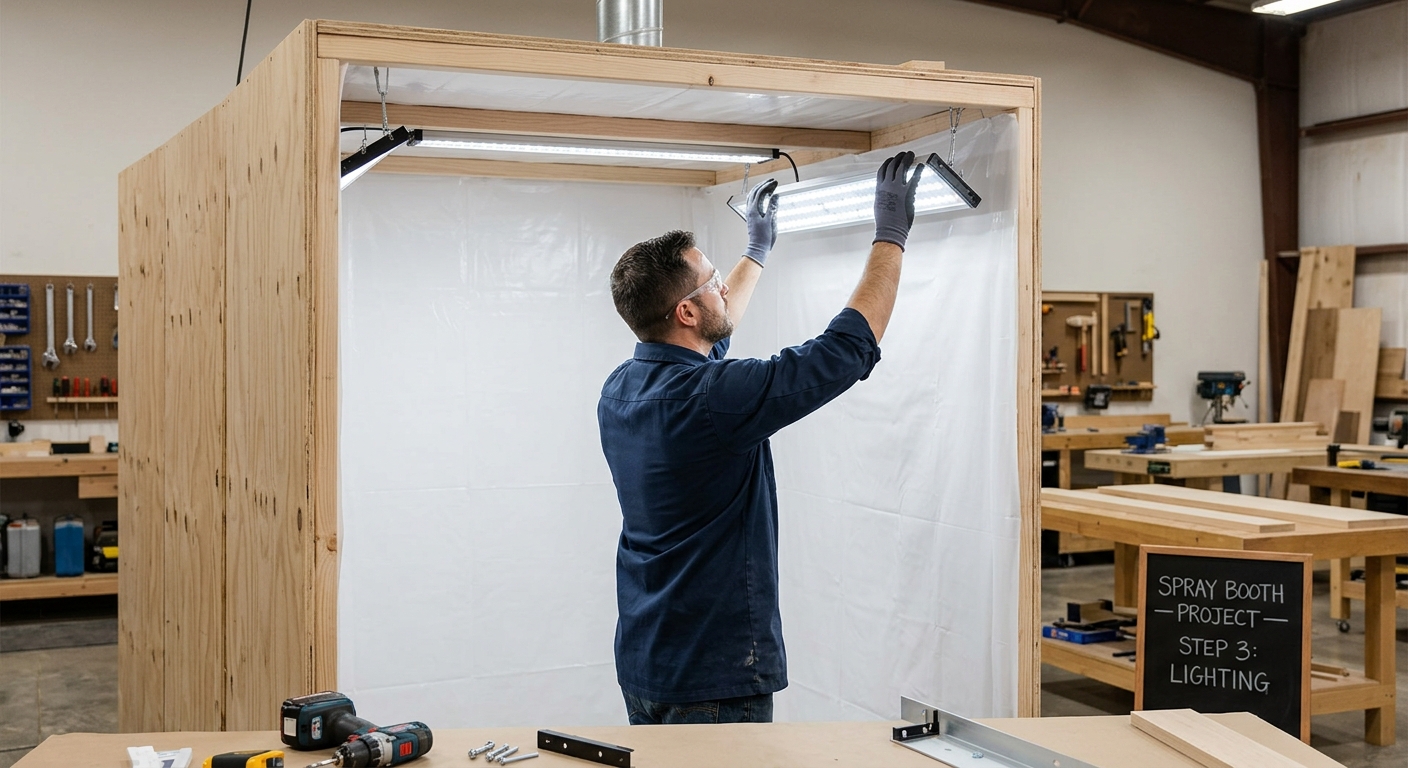
Two shop lights with LED bulbs aimed at the workpiece from two sides eliminate shadows and show the wet finish clearly. Good lighting is essential for catching runs, missed spots, and uneven application. Position lights at about 45 degrees to the work surface so the gloss reveals any imperfections.
Step 4 – Drape the Zone and Protect the Floor
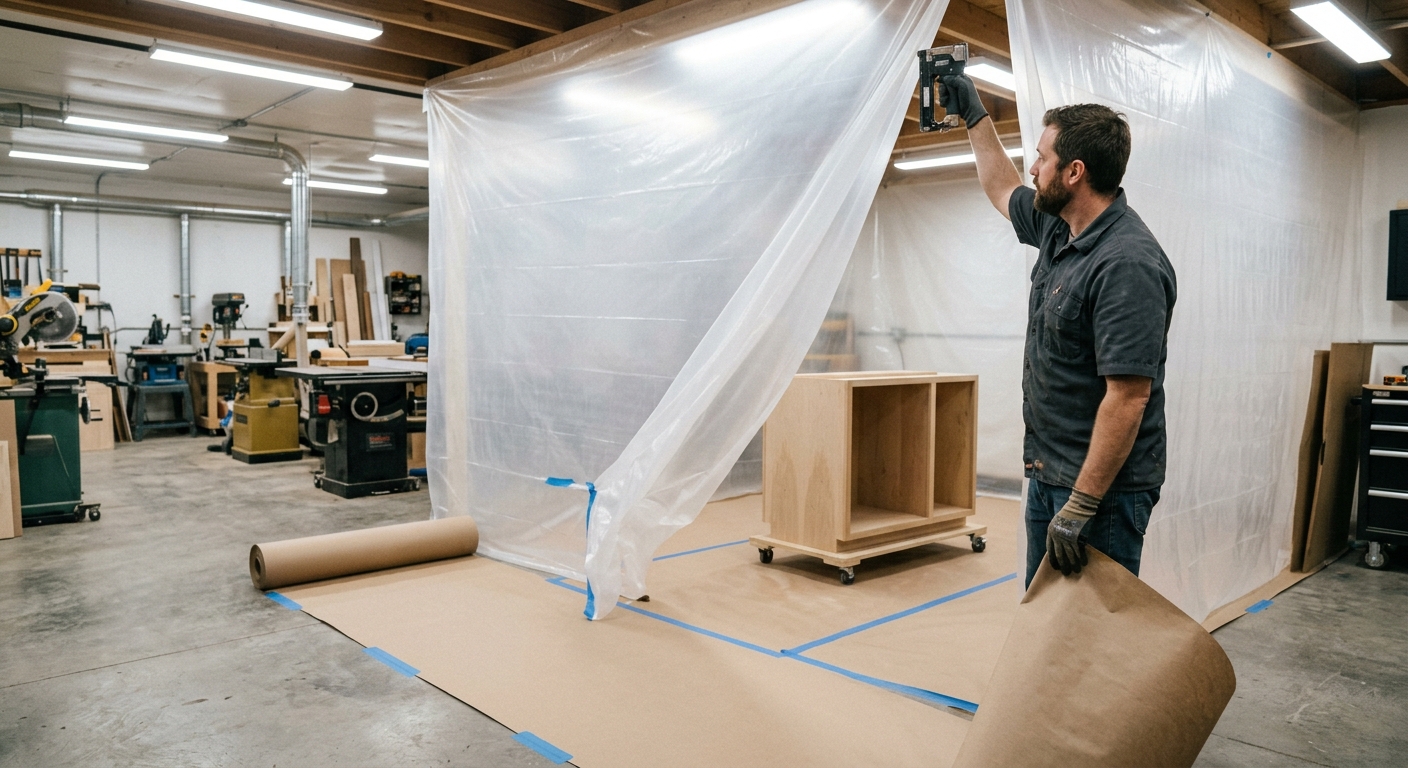
Before each finishing session, hang plastic sheeting or tarps around the zone to contain overspray. Lay paper masking on the floor. This 5-minute setup saves hours of cleaning overspray from tools, cabinets, and lumber storage.
Step 5 – Set Up a Rotating Turntable
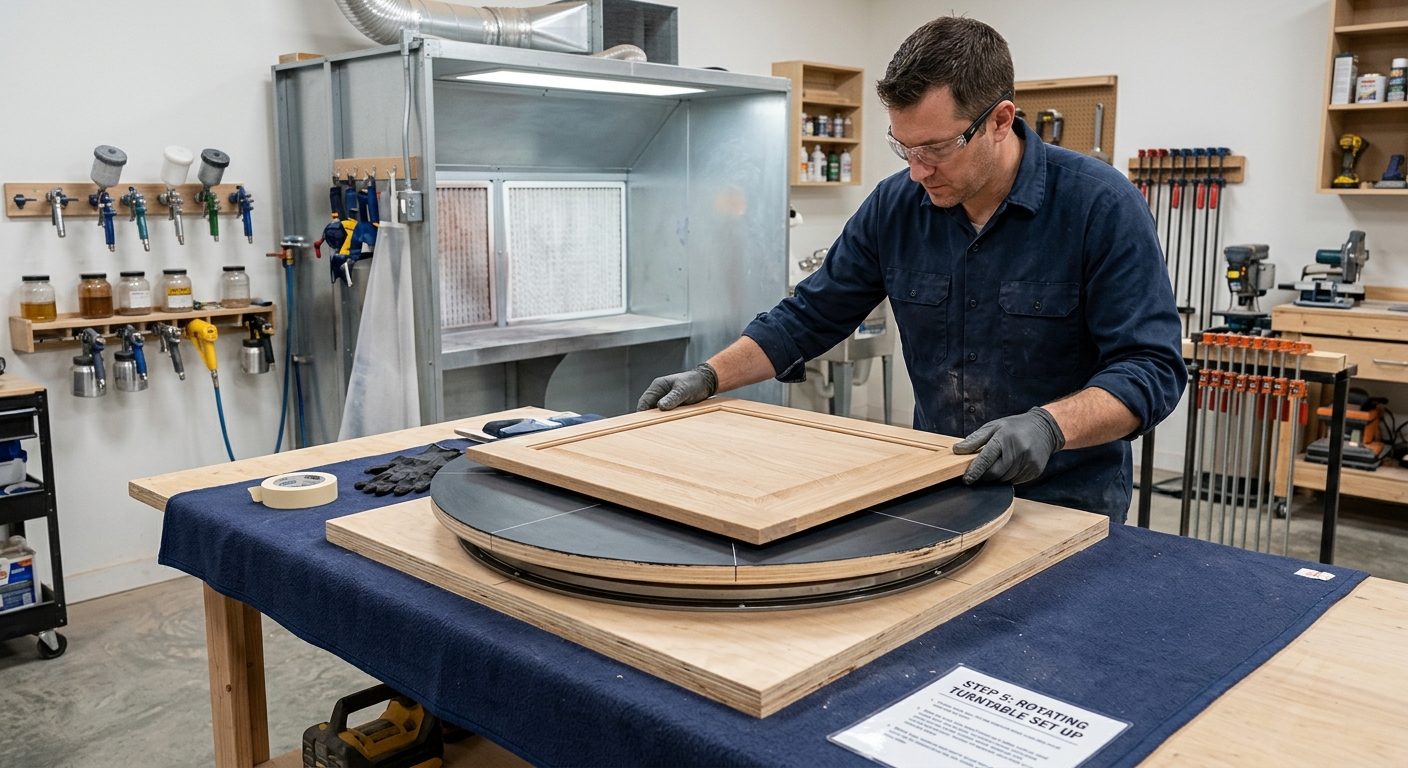
A lazy Susan-style turntable lets you rotate the workpiece during spraying without touching it. A lazy Susan bearing bolted to a plywood disk costs under $15 and makes reaching every face of a workpiece effortless. Essential for cabinet doors, small boxes, and any piece where you need full coverage without handling.
FAQ
Do I need a HEPA filter on the exhaust fan? Filters on the exhaust are not required for home shops, but a pre-filter on the intake (spray side) helps contain overspray particles and prevents them from going directly into the exhaust fan motor area.
Can I spray oil-based polyurethane with water-based finish lighting and fan setup? No. Oil-based finishes use solvents that require explosion-proof fans. If you’re committed to solvent-based finishes, invest in the correct fan or spray outside.