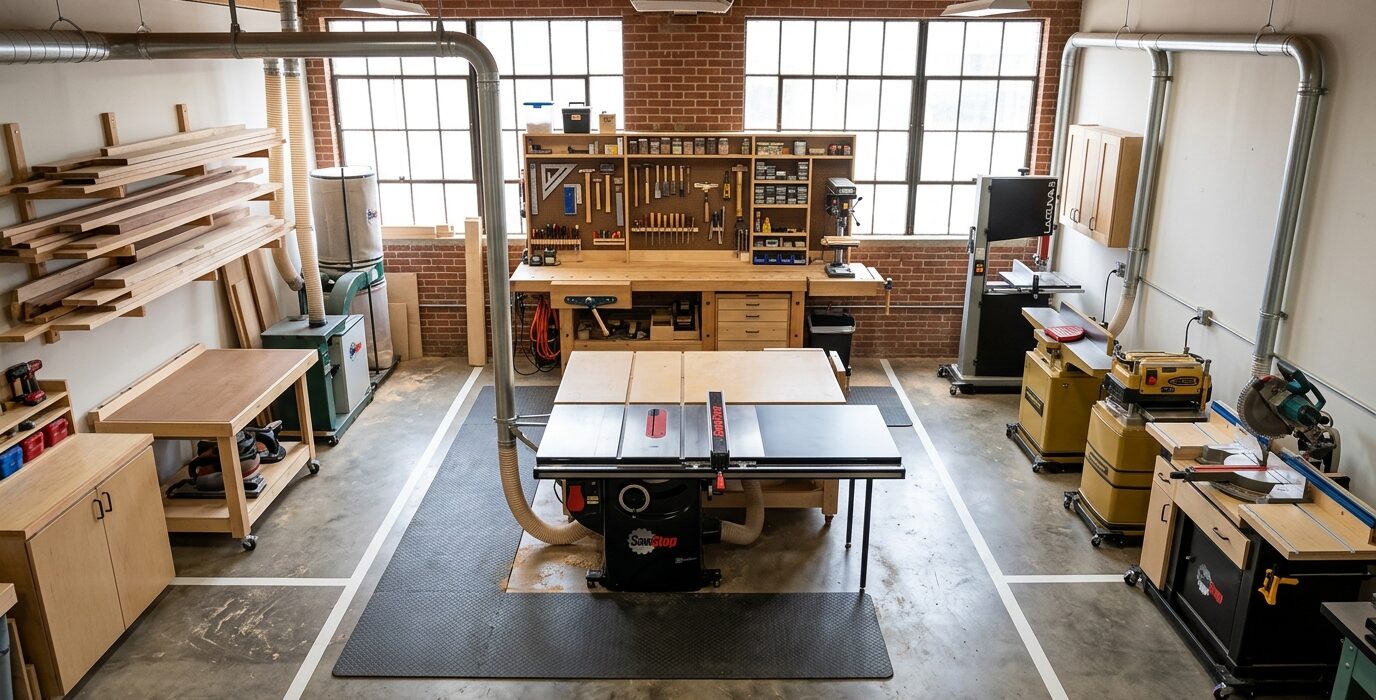
Eliminate Snipe and Get Consistent Thickness
Snipe – the deeper cut at the beginning and end of a board when it passes through a thickness planer – is the most common planer frustration in a home shop. It’s not a defect in the machine; it’s a predictable behavior caused by the geometry of how the outfeed roller releases the workpiece before the cutterhead finishes. Understanding why snipe happens is the first step to eliminating it.
Why Snipe Happens
The planer holds the workpiece flat against the table with an infeed and outfeed roller. When the trailing end of the board passes the infeed roller and is only held by the outfeed roller, the slight spring of the machine allows the workpiece to rise slightly – into the cutterhead. This creates a deeper cut at the trailing end. The same happens in reverse at the leading end.
Step 1: Support Both Ends of the Board
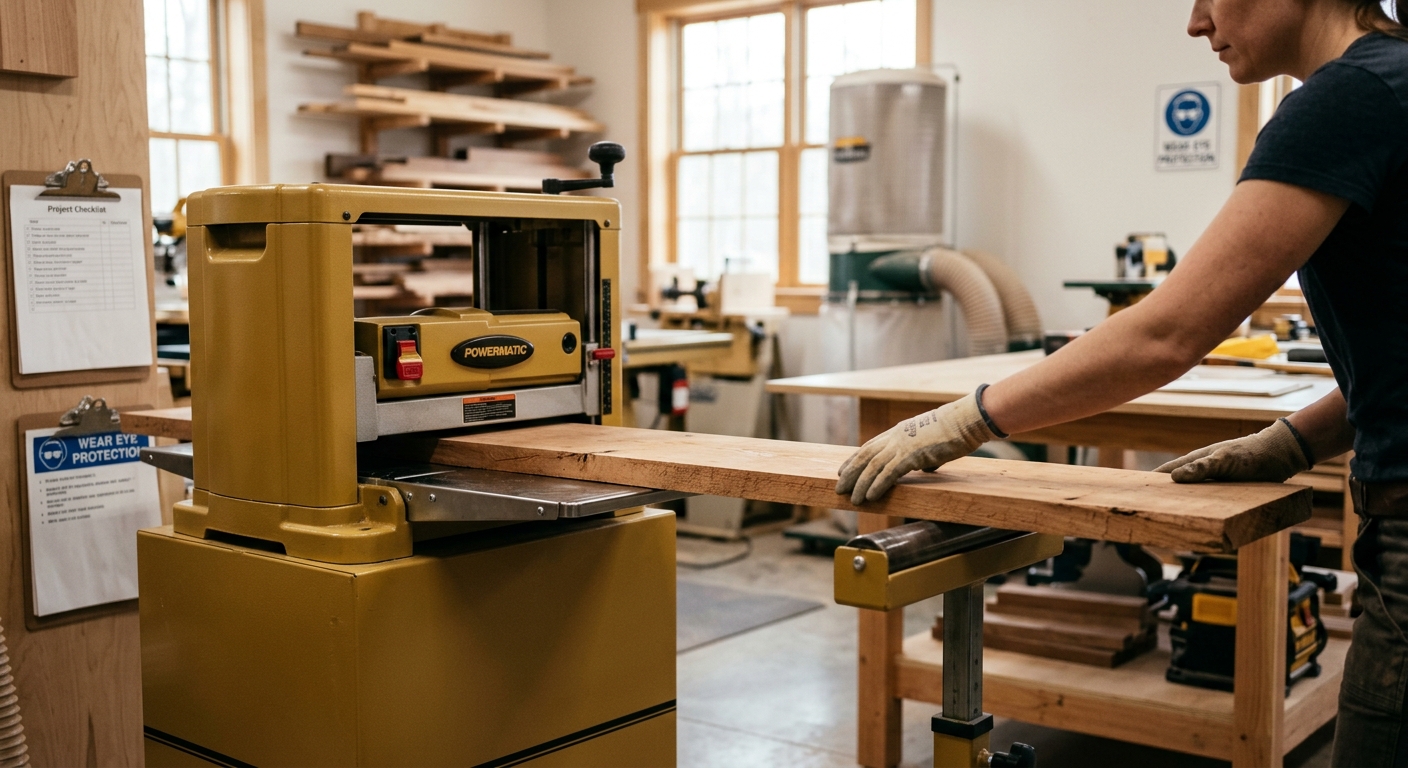
Use roller stands or outfeed support at the same height as the planer table – both at the infeed and outfeed sides. When the workpiece is supported throughout its length, the infeed and outfeed rollers cannot drop the board into the cutterhead. This eliminates most snipe immediately. Many woodworkers eliminate snipe entirely just by adding proper support.
Step 2: Adjust the Outfeed Roller Height
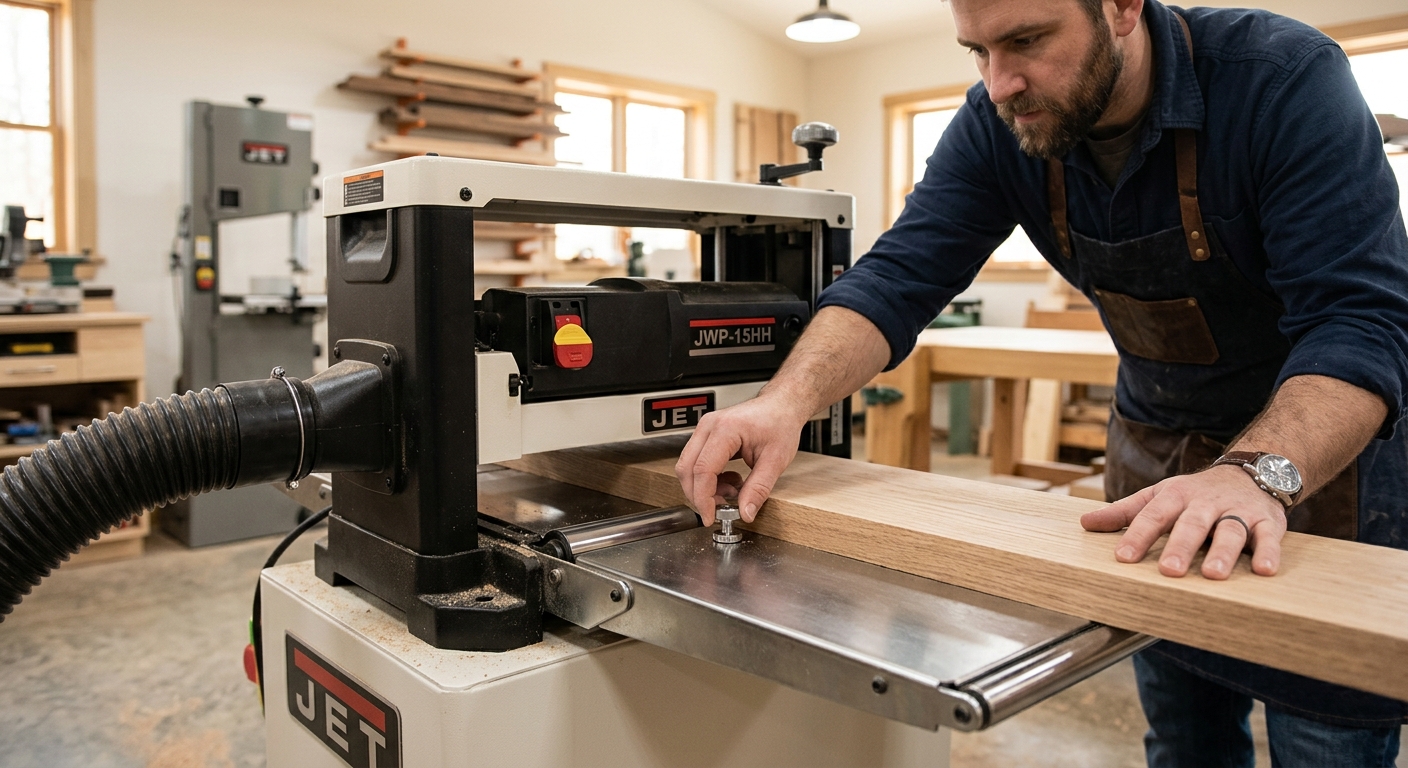
Most planers have an adjustment for outfeed roller pressure. Lowering the outfeed roller applies more downward pressure on the workpiece as it exits, which reduces the tendency to lift into the cutterhead. Check your planer’s manual – too much outfeed pressure can leave roller marks on softwoods.
Step 3: Take Light Final Passes
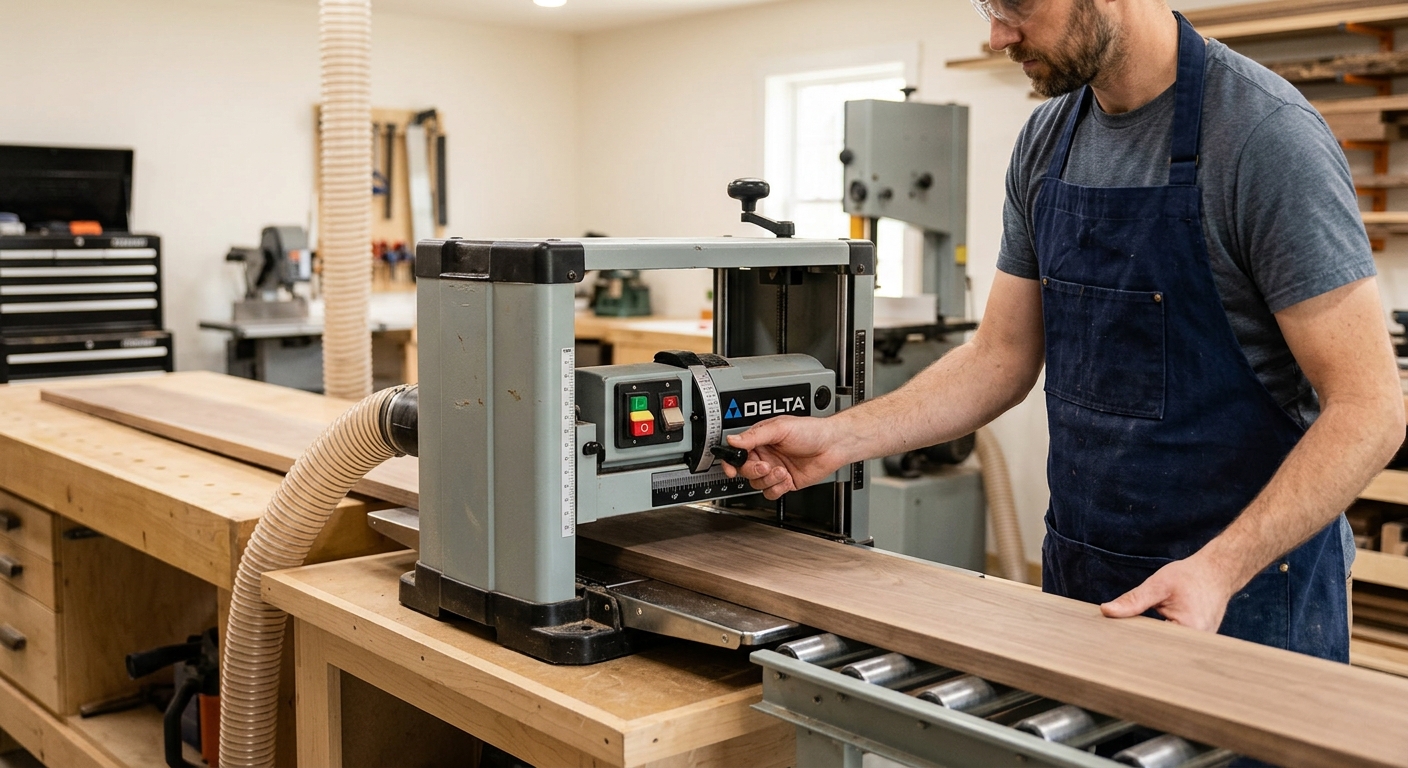
Heavy passes (1/8 inch or more) produce more snipe than light passes. Final passes of 1/32 inch or less dramatically reduce snipe depth. The snipe is still there, but it’s shallow enough to remove with minimal hand planing or sanding.
Step 4: Leave Length for Snipe and Cut Off Later
Add 6 inches of extra length to every board before planing. The snipe zone typically affects the first and last 2-3 inches of a board. If you mill to final length before planing, you lose material to snipe. If you mill slightly long and cut to final length after planing, you cut off the sniped sections and get clean material.
Step 5: Feed Multiple Boards End-to-End
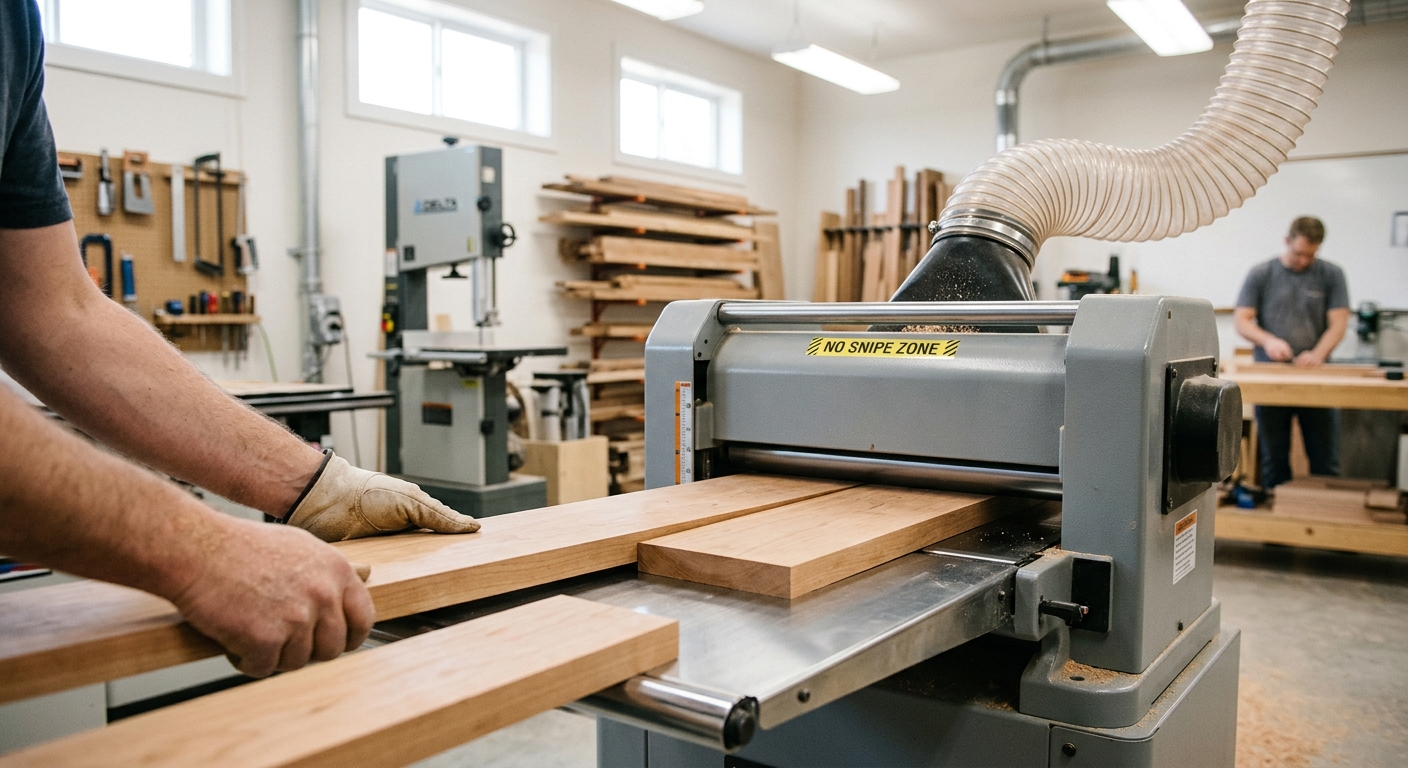
When processing production batches, feed boards end-to-end with no gap between them. The second board follows the first immediately through the cutterhead – there is no “end” to create snipe on the first board until the very last board in the sequence. Snipe only affects the first leading edge and the last trailing edge of the entire sequence.
Pro Tips
- Always mark the snipe zone. When a board comes out of the planer, immediately mark the first and last 4 inches with chalk. This prevents you from accidentally using sniped material in a visible location.
- Check the bed rollers. Many planers have bed rollers (below the table surface) that are supposed to lift the workpiece slightly to reduce friction. If these are set too high, they can contribute to snipe. Check the manual for proper setting.
FAQ
Will a drum sander eliminate snipe entirely?
A drum sander (open or closed drum) removes material by abrasion rather than cutting, and its geometry doesn’t create snipe. For shops that primarily work with thin stock or veneer, a drum sander eliminates many planer problems including snipe. However, a drum sander cannot take the aggressive cuts a planer can and works much more slowly on thick stock.