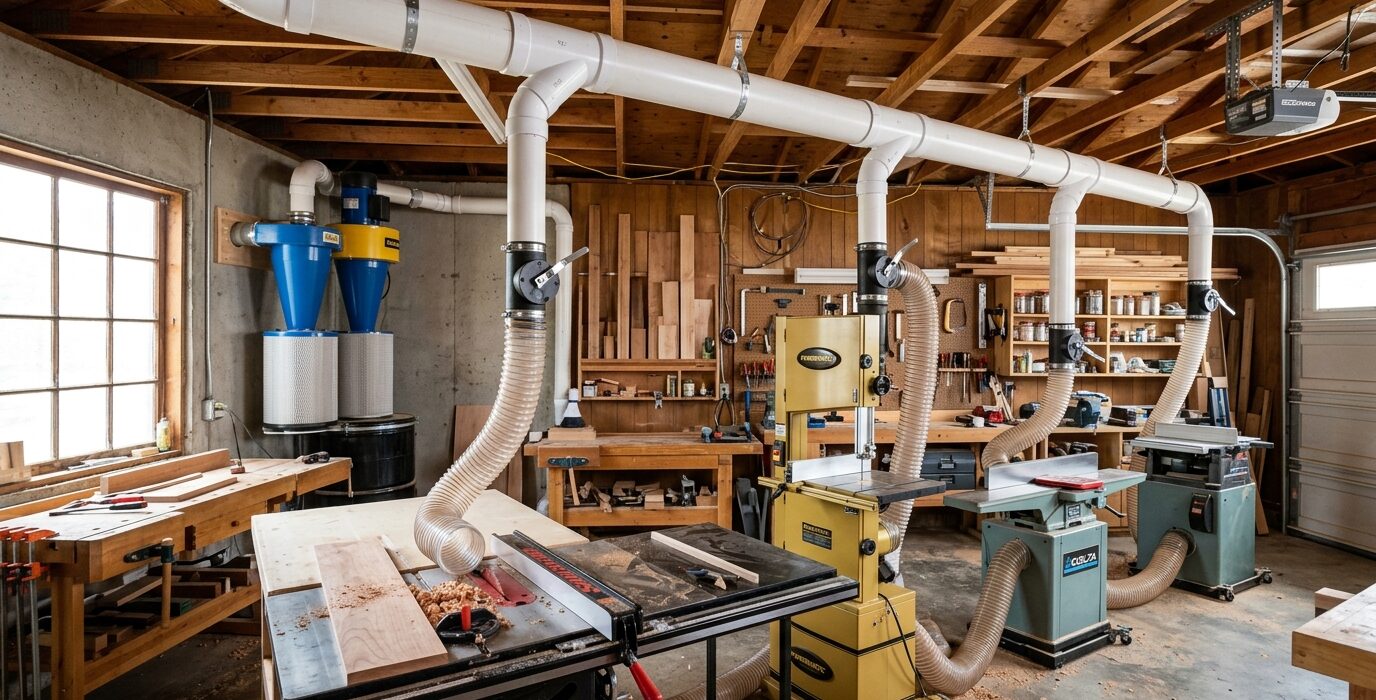
Overhead Dust Collection – The Professional Approach
Running dust collection hoses along the floor creates tripping hazards and gets in the way of material movement. Overhead hose drops – flexible hoses hanging from the ceiling at each machine location – keep the floor clear while delivering dust collection exactly where it’s needed. This setup is how professional shops handle DC distribution, and it’s achievable in any home shop with a weekend of work.
Planning the Overhead System
Map your shop floor plan and identify each major dust producer: table saw, jointer, planer, drum sander, bandsaw, router table. For each machine, determine where a hose drop would be most convenient – directly above the machine, above and slightly to the side for operator clearance. The drops should allow the hose to reach the machine port without pulling tight.
Materials
- 4-inch spiral flex duct – enough for the main trunk line and all drops
- 4-inch wye fittings and elbows
- 4-inch blast gates – one per machine
- Ceiling-mounted duct hangers or wire supports
- Spiral galvanized duct for the main trunk (optional upgrade from flex duct)
Step 1 – Install the Main Trunk Line
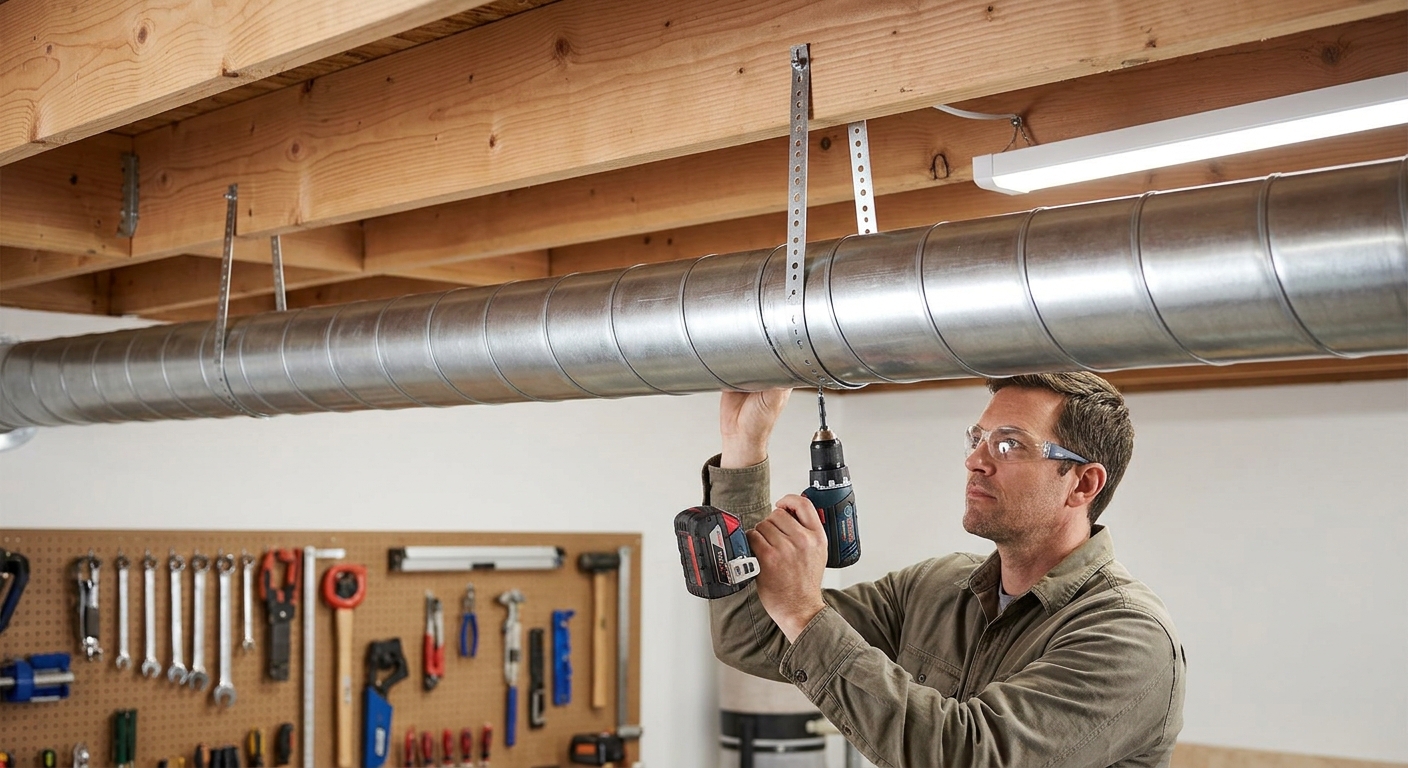
Run a 4-inch or 6-inch trunk line along the ceiling from the dust collector to the far end of the shop. Use duct hangers every 4 to 6 feet to support the trunk. Where the trunk passes over high-traffic areas, run it close enough to the ceiling that it’s not a head hazard. Use 45-degree elbows instead of 90-degree elbows everywhere possible – tight bends increase friction and reduce airflow significantly.
Step 2 – Branch to Each Machine
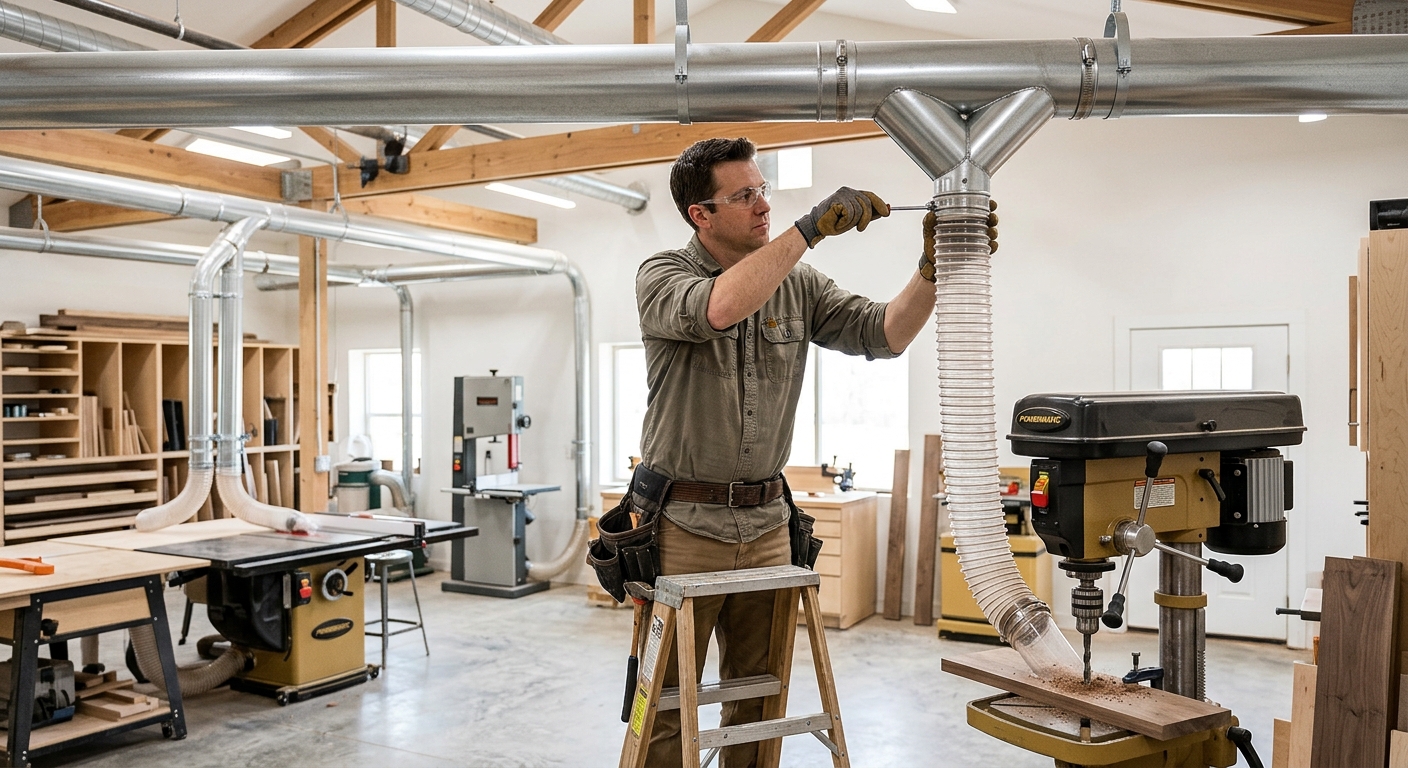
At each machine location, tee off the main trunk with a wye fitting and run a branch down to a blast gate at a convenient height (about 4 to 5 feet from the floor). Below the blast gate, connect the flex hose that attaches to the machine. The blast gate at the branch point lets you open only the drop being used, maximizing suction at the active machine.
Step 3 – Install and Position the Blast Gates
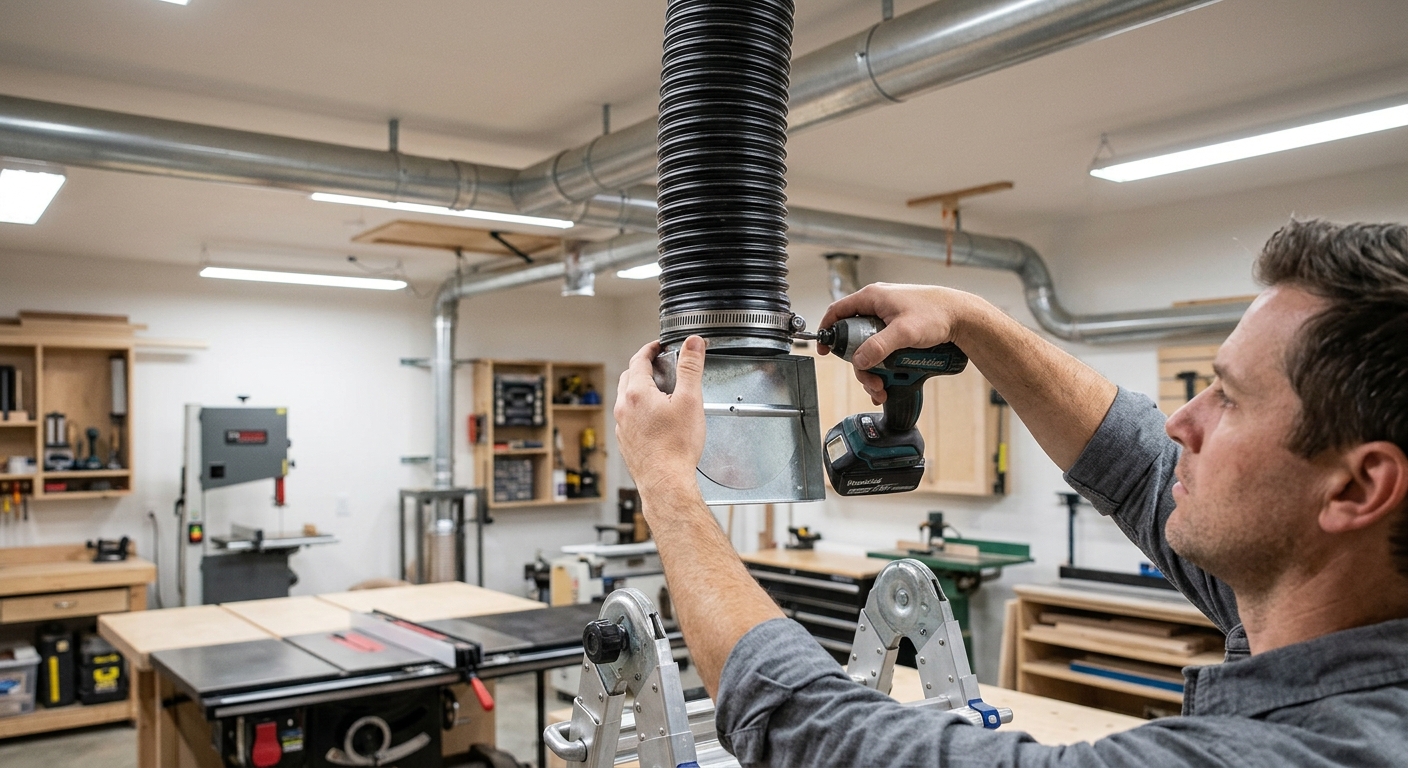
Blast gates are critical – without them, all the suction goes to the open end of the duct system, not to the machine in use. Install a blast gate at each machine drop and at the beginning of any long branch run. Label each blast gate with the machine it serves. A simple laminated card at the dust collector shows which gates to open for each machine.
Step 4 – Make the Drops Retractable
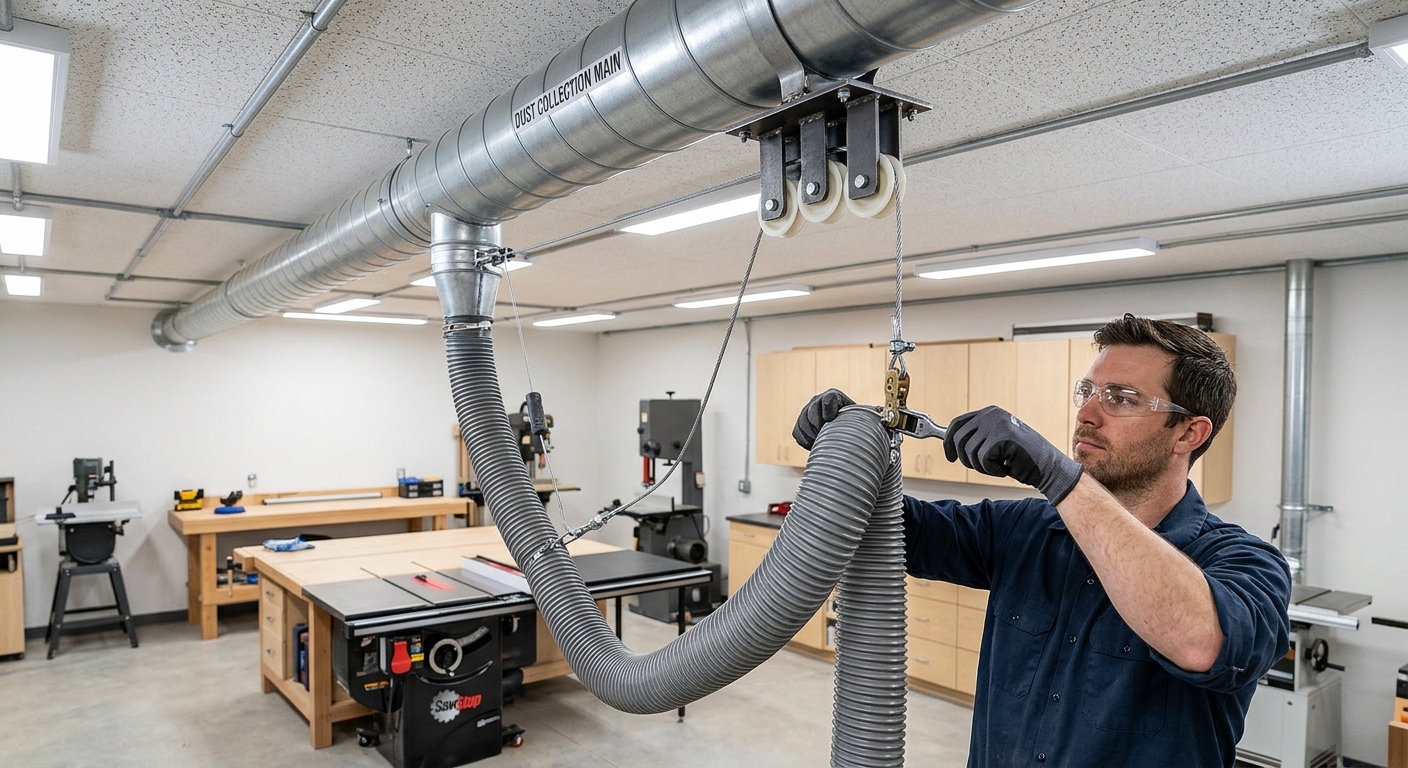
The most useful dust collection drops include a spring-loaded hose reel or a simple counterweight system that keeps the hose out of the way when not in use. At minimum, install a hook near each drop to hang the hose connection end when not connected. A hose left dangling to the floor is a tripping hazard and gets stepped on.
Step 5 – Test the System
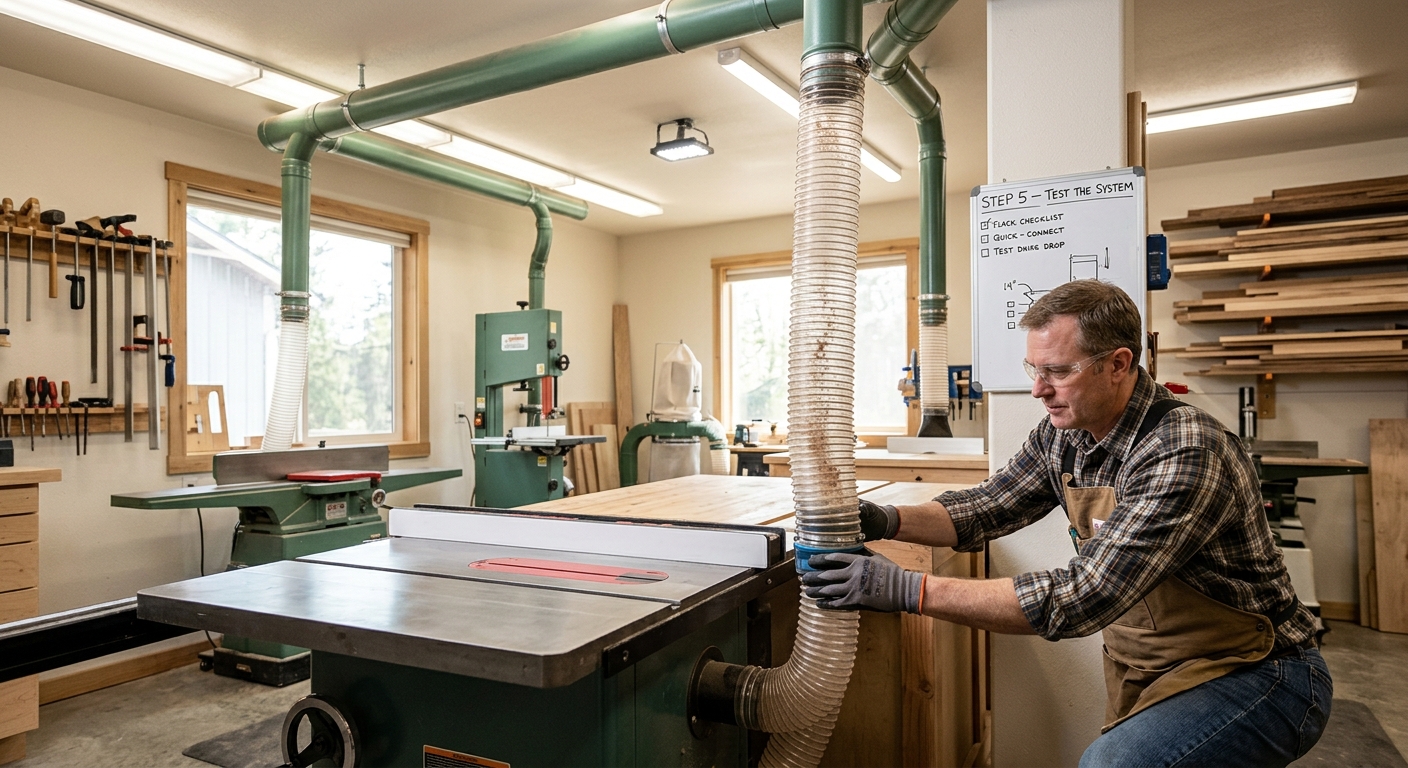
Run the dust collector and test each drop with a simple piece of paper – hold it near the open end and confirm strong suction with only that blast gate open. If suction is weak at a particular drop, check for kinks in the flex hose, closed blast gates, or undersized duct at that branch.
FAQ
How many drops can I run from one dust collector? Open only one or two drops at a time – a 1.5 HP dust collector doesn’t have enough airflow to effectively serve all drops simultaneously. The overhead system distributes the DC, but you use one or two drops at a time with the others gated closed.
Should I use flex duct or rigid galvanized duct? Rigid galvanized is more efficient (lower friction) and easier to clean, but flex duct is far easier to install and works well for home shops. Use rigid duct for the main trunk if possible and flex duct for branches and drops.