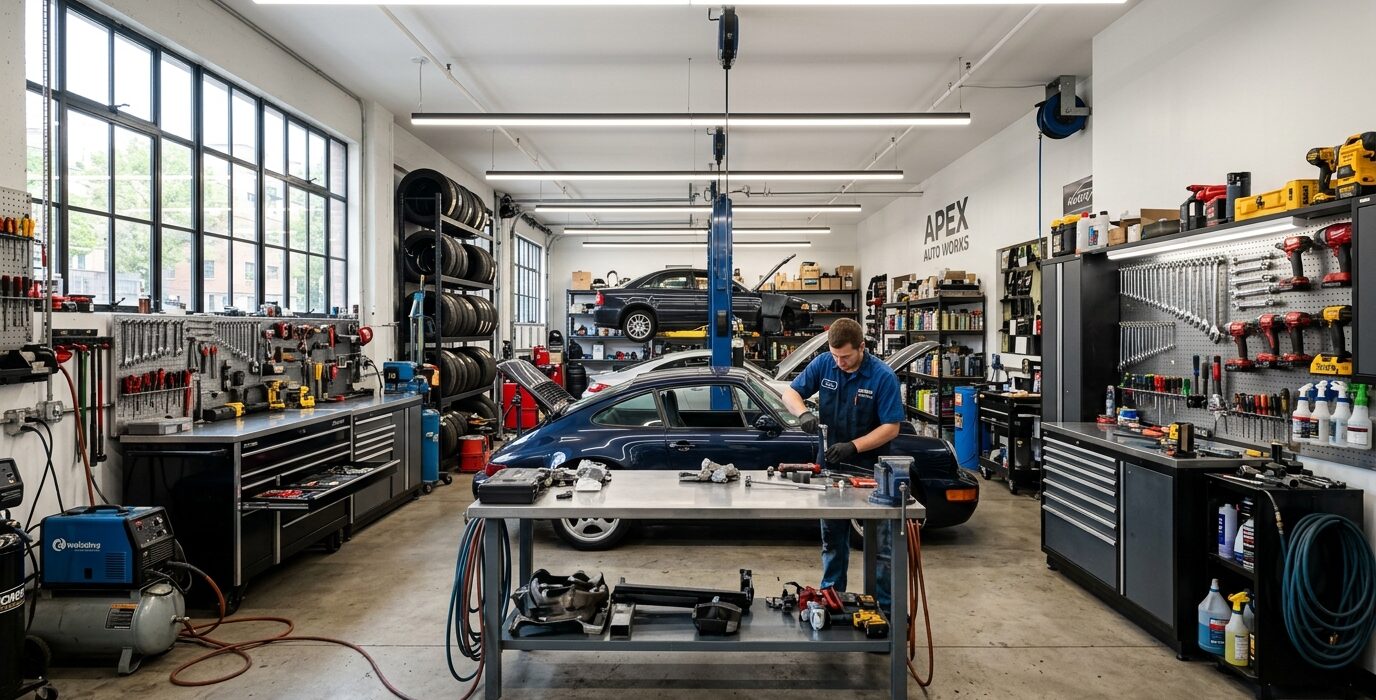
Good Lighting Is Safety Equipment
Poor workshop lighting causes measurement errors, missed layout lines, and miscut pieces. It also causes accidents – you can’t see what’s happening at the blade if you’re squinting into shadows. Good workshop lighting is not a luxury or an aesthetic choice; it’s a functional requirement that affects every hour of work you do in the shop.
This guide covers the types of lighting, how to calculate what you need, and how to install a system that eliminates shadows across the entire shop.
How Much Light You Need
Workshop lighting is measured in foot-candles (fc) or lux. For general shop work: 50-100 fc. For detail work (layout, fitting, finishing): 100-200 fc at the work surface. For comparison, a typical garage has 5-15 fc from a single overhead fixture – one-tenth of what you need. You need a lot more light than you think.
LED Shop Lights Are the Answer
Modern LED shop lights in the 4-foot, 5000K (daylight) color temperature range deliver 4000-8000 lumens per fixture, last 50,000+ hours, run cool, and cost $20-$40 each. LED is the only sensible choice for new installations. Fluorescent tubes waste energy, take time to warm up in cold weather, and flicker at certain speeds that can interact badly with spinning blades.
Step 1: Calculate Your Fixture Count
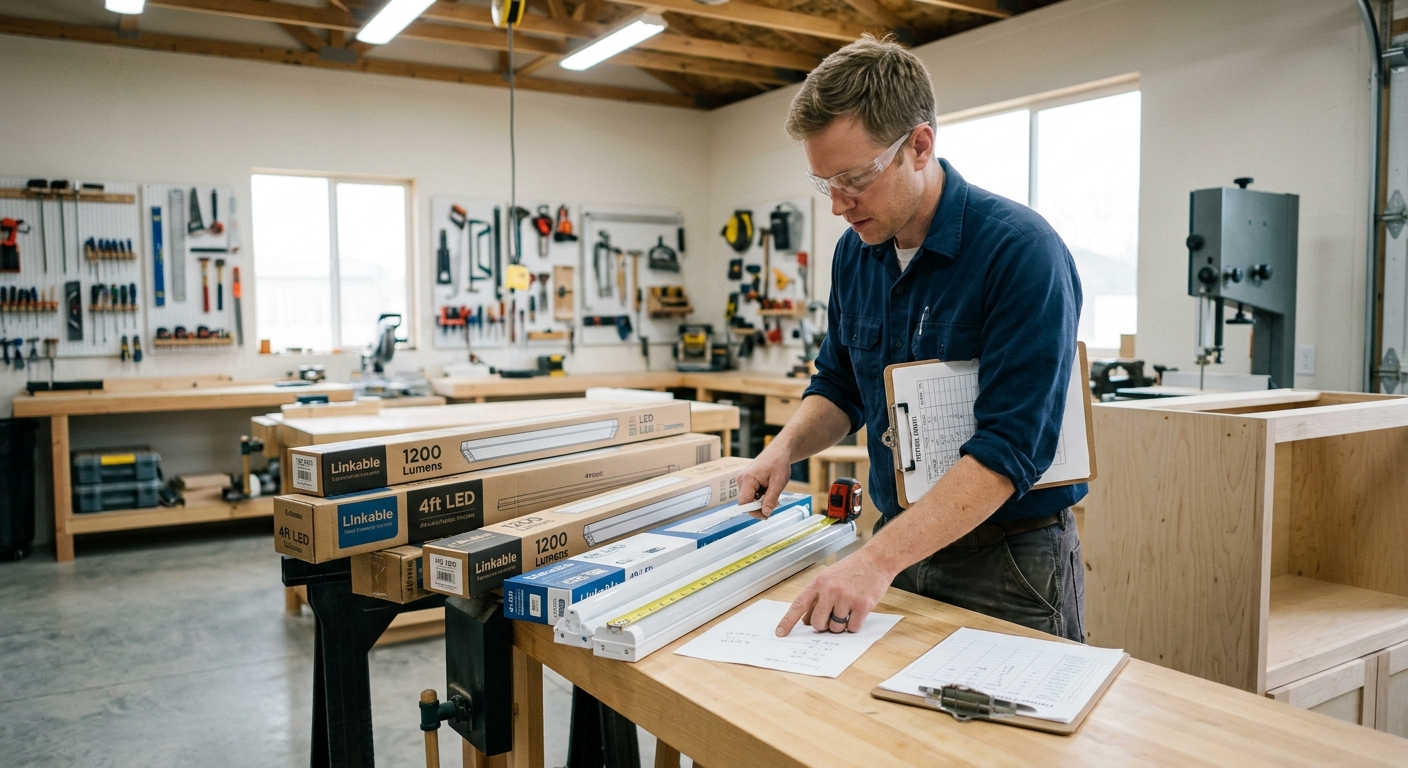
For 50 fc in a typical shop: multiply floor area (sq ft) by 50 foot-candles, then divide by the fixture lumens per square foot. A 4-foot LED shop light delivering 5000 lumens illuminates roughly 50 square feet to 100 fc level. A 400 square foot shop needs 8 of these fixtures for general illumination – more for task lighting over specific machines.
Step 2: Plan Fixture Positions
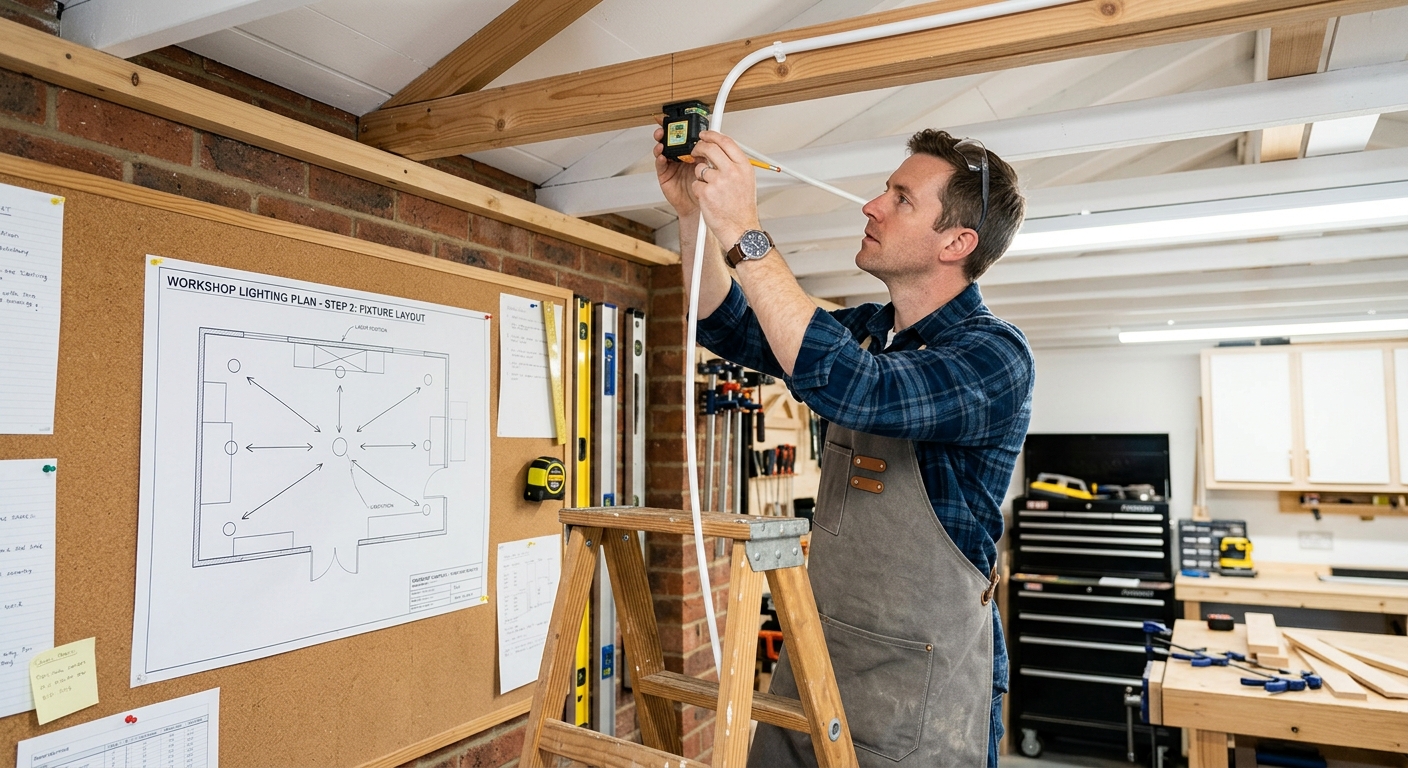
Layout fixtures in a grid pattern across the ceiling at 6-8 foot spacing in each direction. Position fixtures specifically over major work areas: above the table saw, above the workbench, above the assembly table. Add dedicated task lights at the miter saw station and above the bench at eye level – a task light aimed at the work surface from the side creates shadows that show surface defects clearly, valuable for finishing work.
Step 3: Wire the Circuits
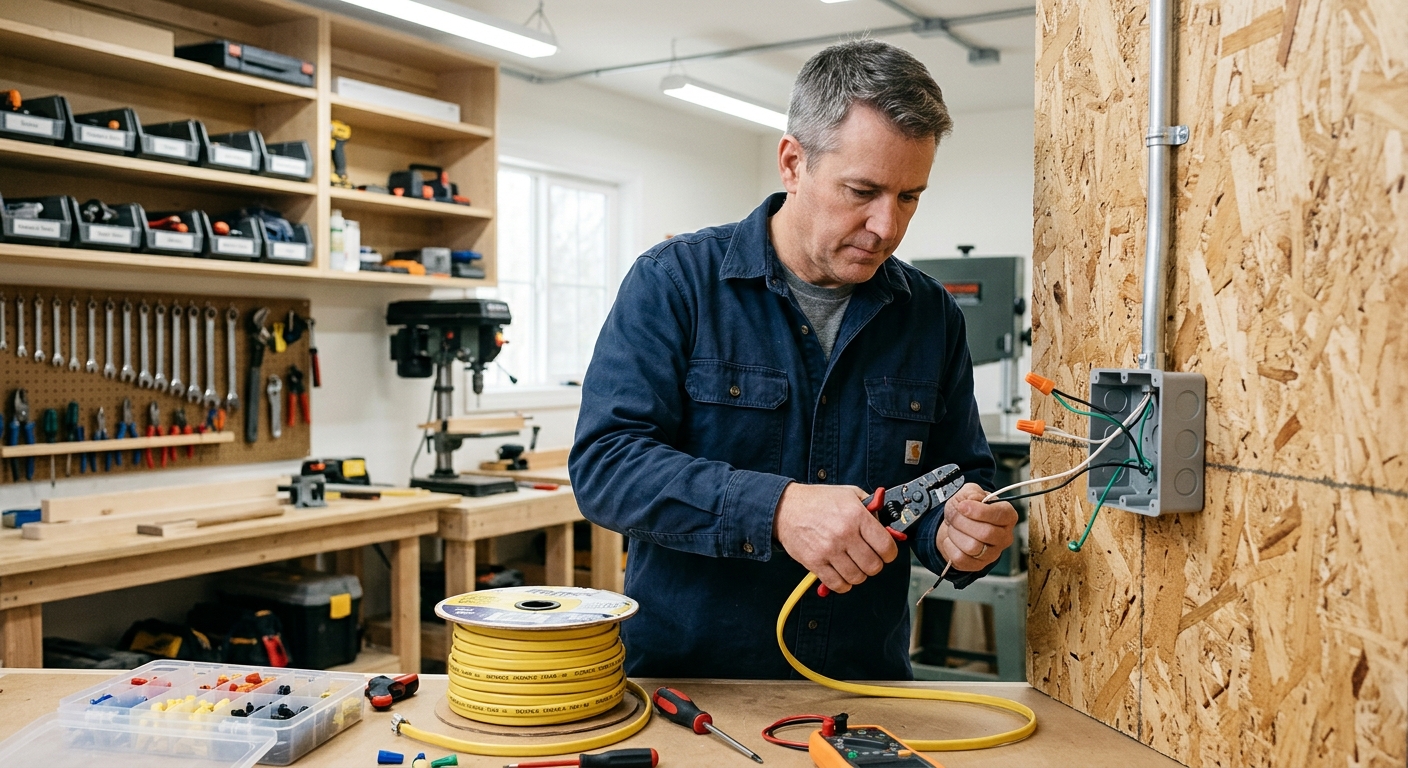
Shop lighting needs its own circuit. Don’t share with machine circuits – a voltage drop when you start the table saw shouldn’t affect your lighting. A 15-amp circuit handles 10-15 LED shop lights easily. Have an electrician add a dedicated lighting circuit if you don’t have one – the cost is modest compared to the improvement in the shop.
Step 4: Install the Fixtures
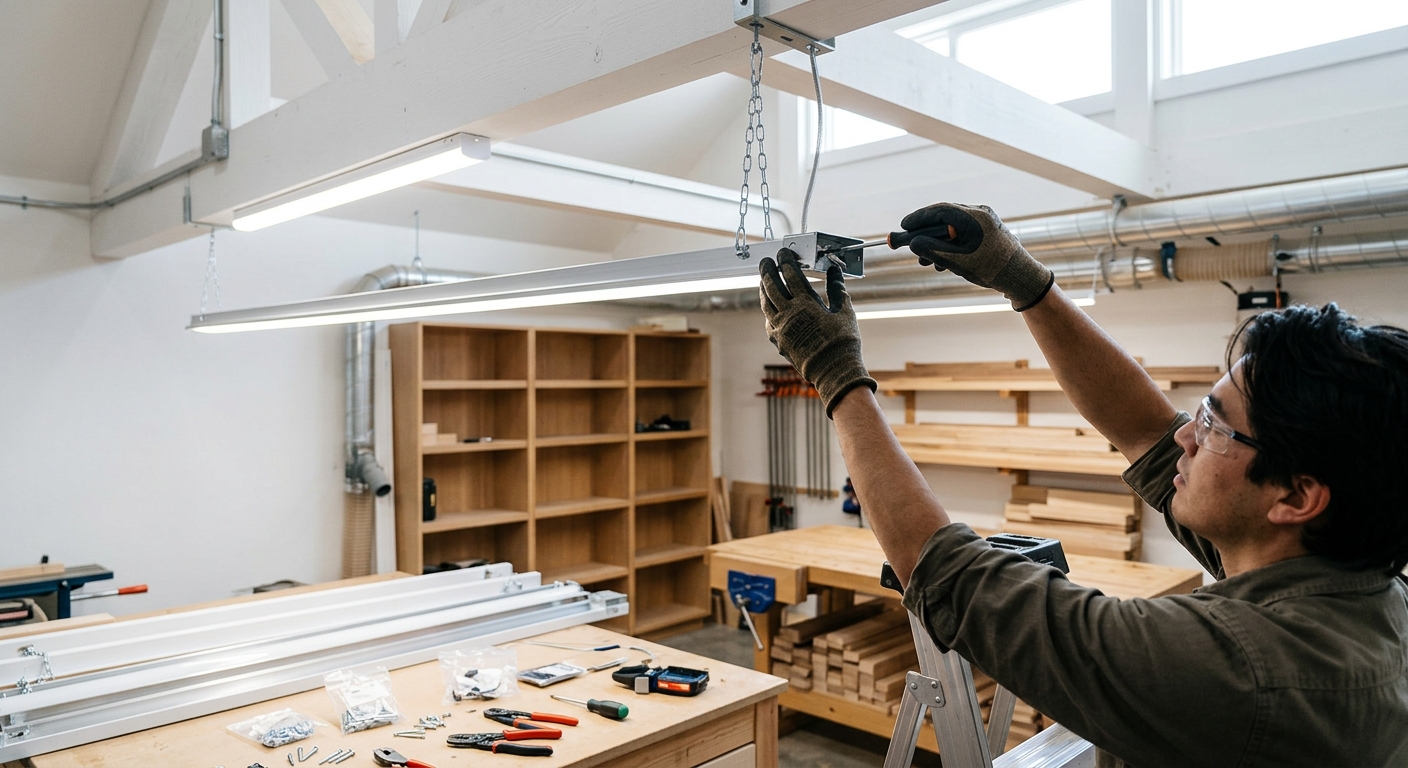
LED shop lights typically come in linkable versions – you plug them end-to-end and only need one power connection per row. Install V-hooks or toggle bolts in the ceiling joists and hang the fixtures. Run wire from the main lighting switch to the first fixture in each row. Test each row before completing the installation.
Task Lighting Tips
- Add under-cabinet LED strips at the front of wall cabinets above the bench – these illuminate the bench surface directly
- A flex-arm LED lamp at the sharpening station makes burr detection much easier
- At the table saw, position an additional fixture to eliminate the shadow cast by the blade guard
- At the finishing area, use a color-accurate light (CRI 90+) to see finish quality as it will appear in daylight
FAQ
What color temperature is best for a workshop?
5000-6500K (daylight to cool white) is best for a workshop. It provides high contrast and makes it easier to distinguish grain patterns, surface defects, and pencil lines. Warmer color temperatures (3000K) are more comfortable for living spaces but less functional for a work environment.