Workbench Lighting Done Right
The difference between good and bad workbench lighting is not just brightness – it’s direction. Overhead general lighting illuminates the room. Dedicated task lighting at the bench illuminates the work, creates the shadows that reveal surface texture and marks, and puts light exactly where you need it without glare in your eyes. This guide covers how to set up both ambient and task lighting at the workbench for optimal results.
Two Types of Bench Lighting
- Ambient lighting: General overhead lighting that illuminates the shop broadly. For bench work, you need at least 50 foot-candles at the bench surface from overhead sources. Modern LED shop lights deliver this easily.
- Task lighting: Directed lighting aimed at the specific work area. Task lights are angled to create rake lighting – light coming from a low angle across the surface – which makes every surface defect, pencil line, and tool mark visible. Task lighting is what separates a professional bench setup from an adequate one.
Step 1 – Install Overhead Ambient Lighting First
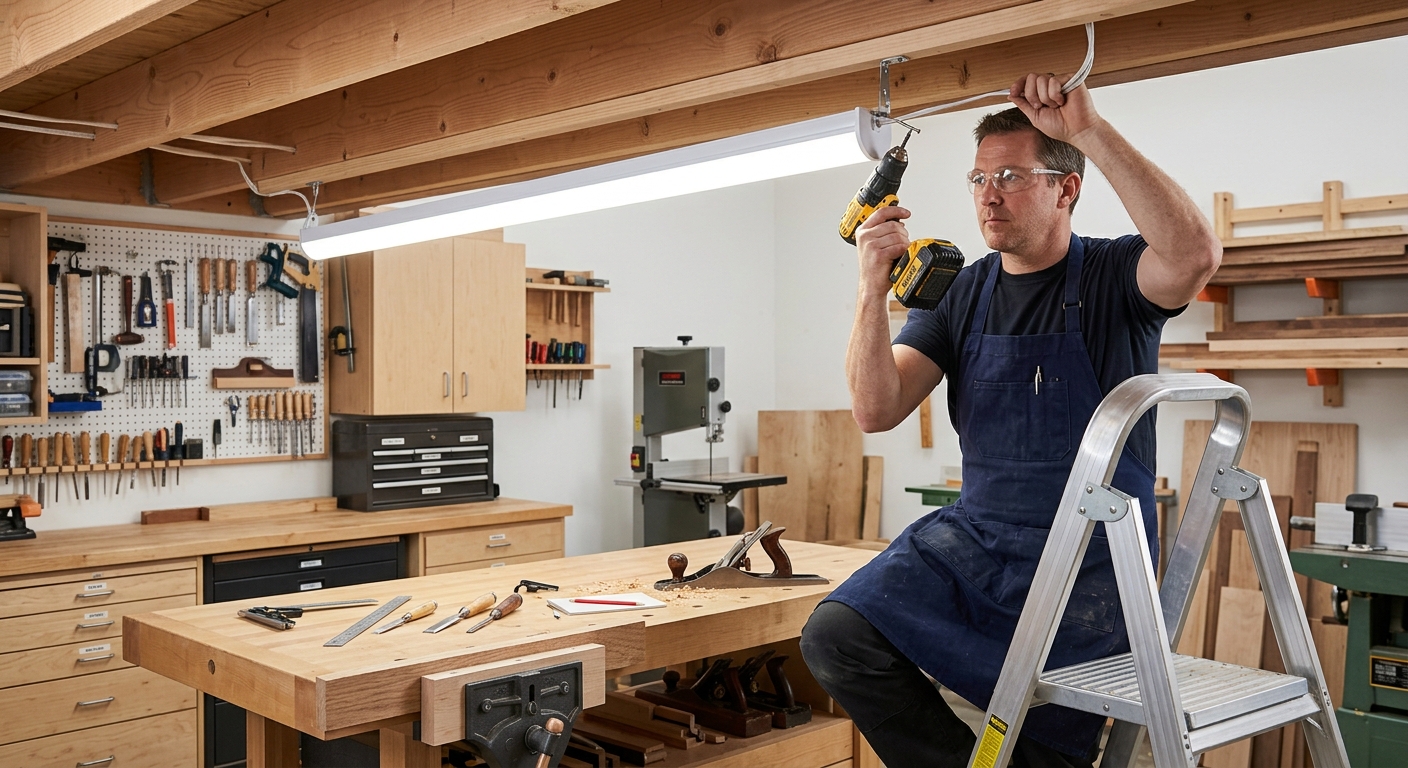
Before adding task lighting, ensure the overhead ambient is adequate. Install LED shop lights (4-foot, 5000K daylight color) in a row directly above the bench – two lights for a 6-foot bench, three for an 8-foot bench. These lights should illuminate the bench top to at least 50 foot-candles. Use a phone app with a light meter function to check the actual level.
Step 2 – Add Task Lighting from the Side

Mount an adjustable LED arm lamp on the left side of the bench (for right-handed workers) at a height of about 24 to 30 inches above the bench surface and angled to cast light across the work from the left. This rake lighting creates shadows that show surface irregularities, layout lines, and grain patterns clearly. Some builders mount a second arm lamp on the right for symmetric lighting options.
Step 3 – Under-Cabinet LED Strips
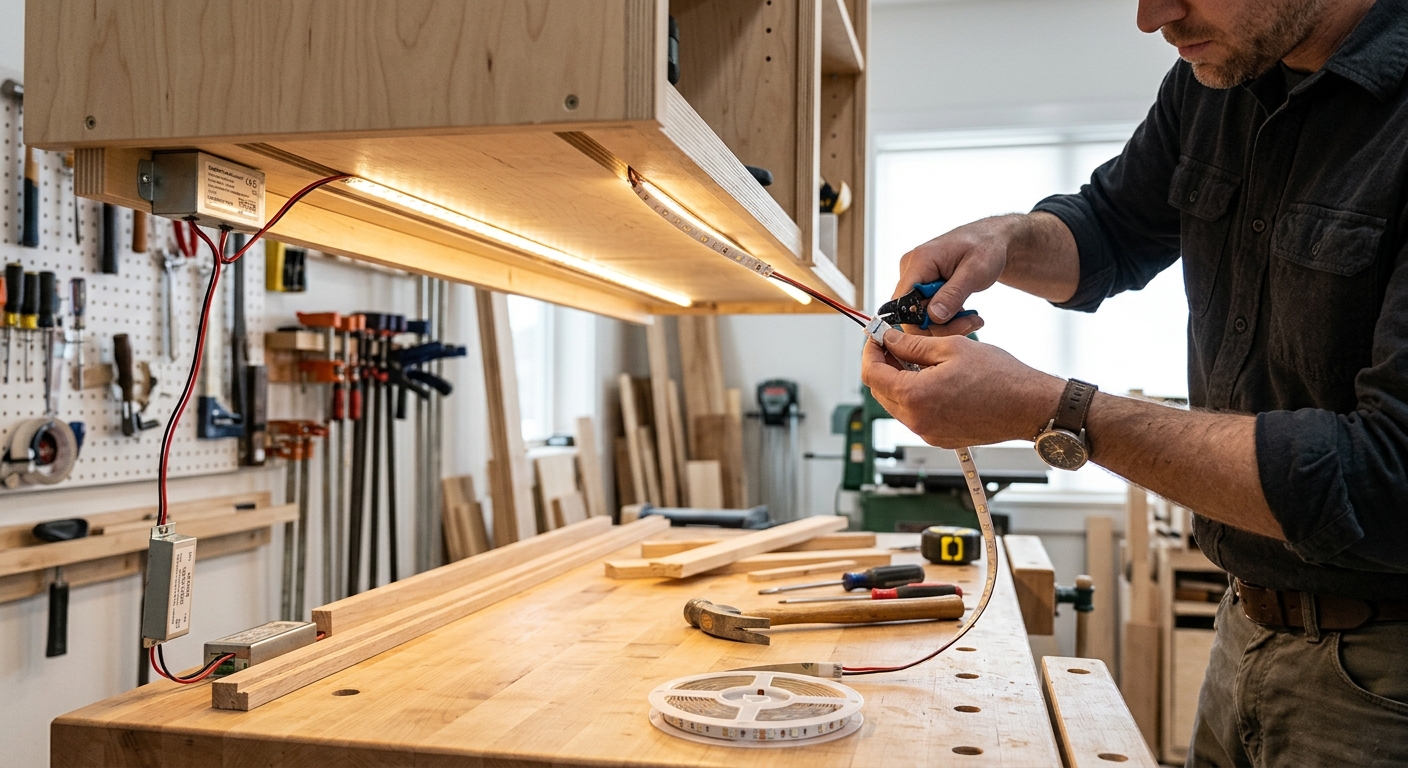
If you have wall cabinets above the bench, install LED strip lights on the underside of the lowest cabinet. These strips illuminate the bench surface directly from above and in front, combining with the side-mounted arm lamp to create complete shadow-free coverage when needed and directional shadows when wanted. LED strips are inexpensive ($15 to $30 for a full bench) and install with adhesive backing.
Step 4 – Add a Magnifying Task Light for Detail Work
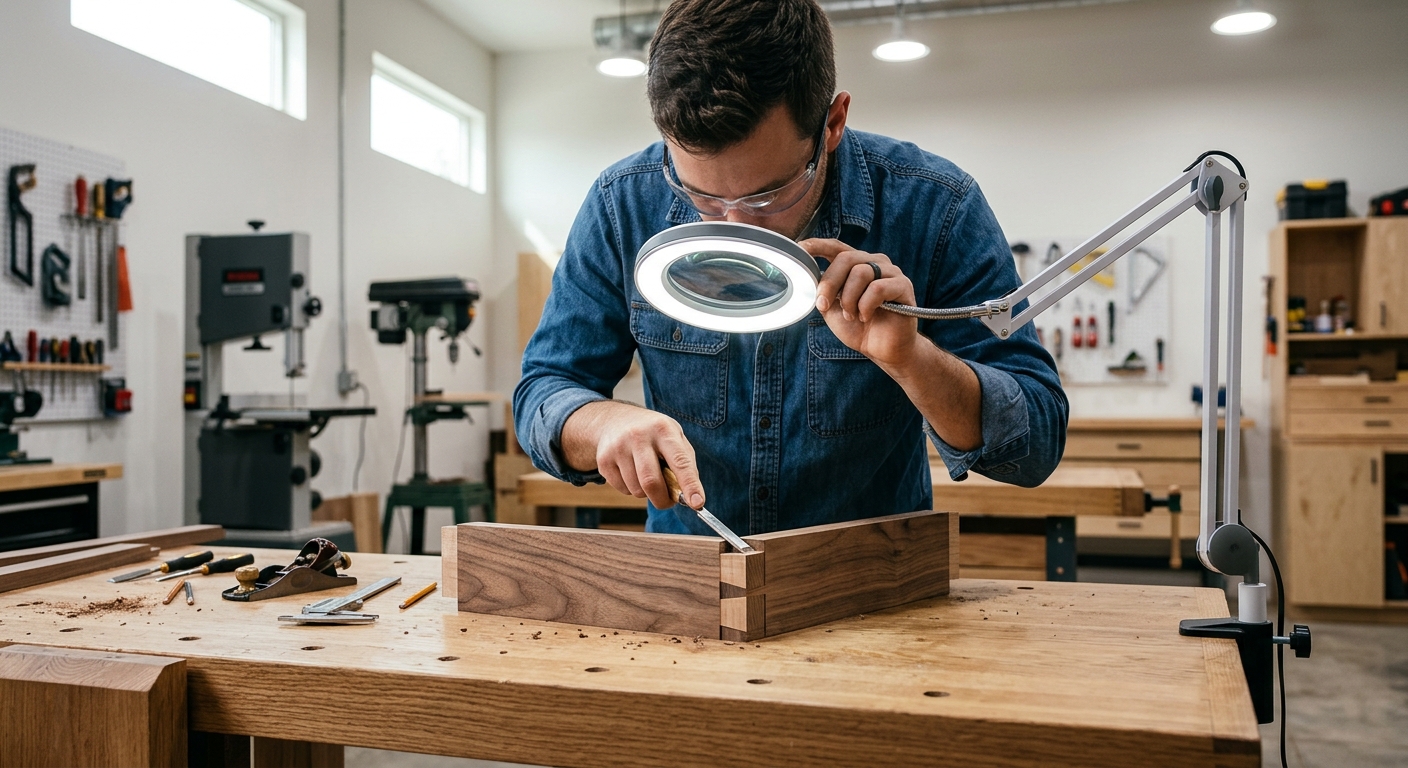
For fine fitting, layout work, and finishing, a magnifying lens with LED ring light is invaluable. These mount on flexible arms and let you examine joint fits, surface scratches, and tool marks at magnification. Position it at one end of the bench as a dedicated detail inspection station.
Step 5 – Color Temperature Matters
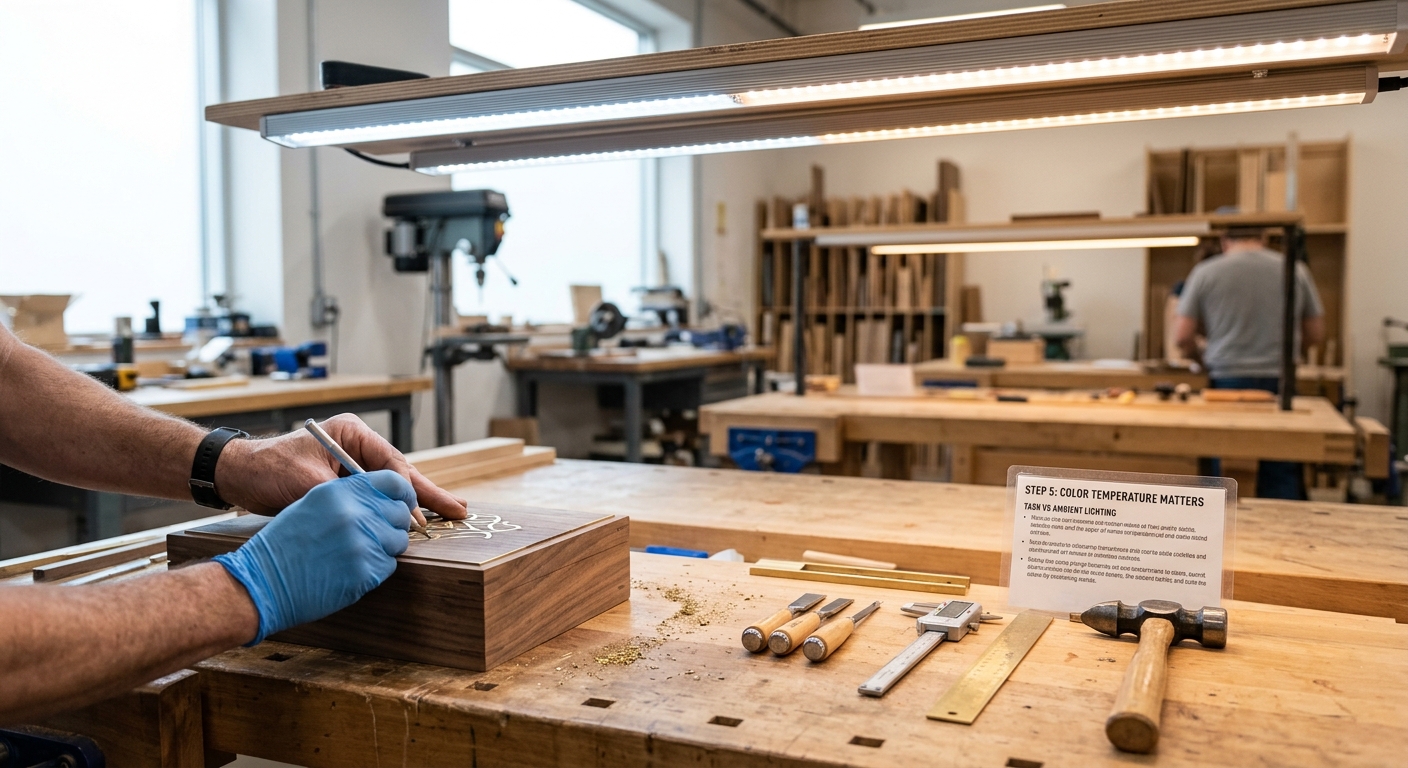
For woodworking, 5000K (daylight) color temperature LEDs are best – they render wood colors accurately and show grain and surface texture clearly. Avoid 2700K (warm white) for the shop – it softens colors and makes it harder to see surface details. For finishing work where color accuracy is critical, 5000 to 6500K is ideal.
FAQ
What’s the minimum acceptable bench lighting? 100 foot-candles at the bench surface for general woodworking. For layout and fitting work, 200 foot-candles is better. For finishing inspection, 500 foot-candles from raking light reveals every defect.
Can I use natural light from a window instead of task lighting? Natural light is excellent for color matching in finishing work. But for task lighting at the bench, you need controllable, consistent light that doesn’t change with the time of day or cloud cover. Use natural light as a supplement, not the primary source.