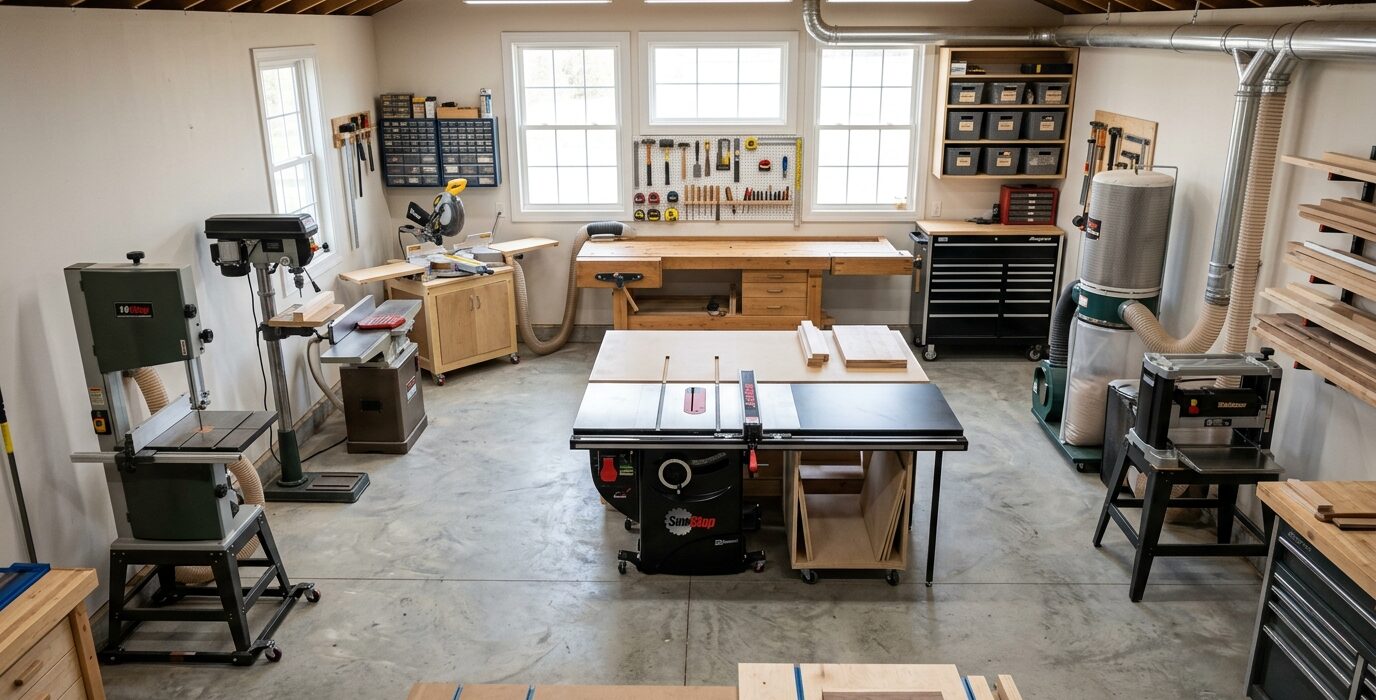
Sharpening is the single skill that most separates a frustrating woodworking experience from a satisfying one. A dull chisel requires force, tears the wood fibers, and skids off your layout lines. A sharp chisel – one that will shave arm hair – slices cleanly with almost no pressure and leaves a surface that barely needs sanding. This guide covers the complete method for sharpening chisels and hand plane irons, from the first grinding step to a polished, work-ready edge.
Understanding Sharpening
Sharpening is just controlled abrasion: you remove metal to create a flat bevel that meets the flat back at an acute angle. The edge is where these two flat surfaces intersect – the flatter and more polished those surfaces are, the sharper the intersection. Every sharpening method that works is doing the same thing; they differ only in abrasive type and convenience.
What You Need
- A coarse waterstone or diamond plate (120–220 grit) for shaping the bevel
- A medium stone (800–1000 grit) for refining
- A fine stone (4000–6000 grit) for polishing
- A honing guide (optional but recommended for beginners)
- A flat surface for flattening the back – the stone itself works
- Water or honing oil depending on your stone type
Step 1 – Flatten the Back
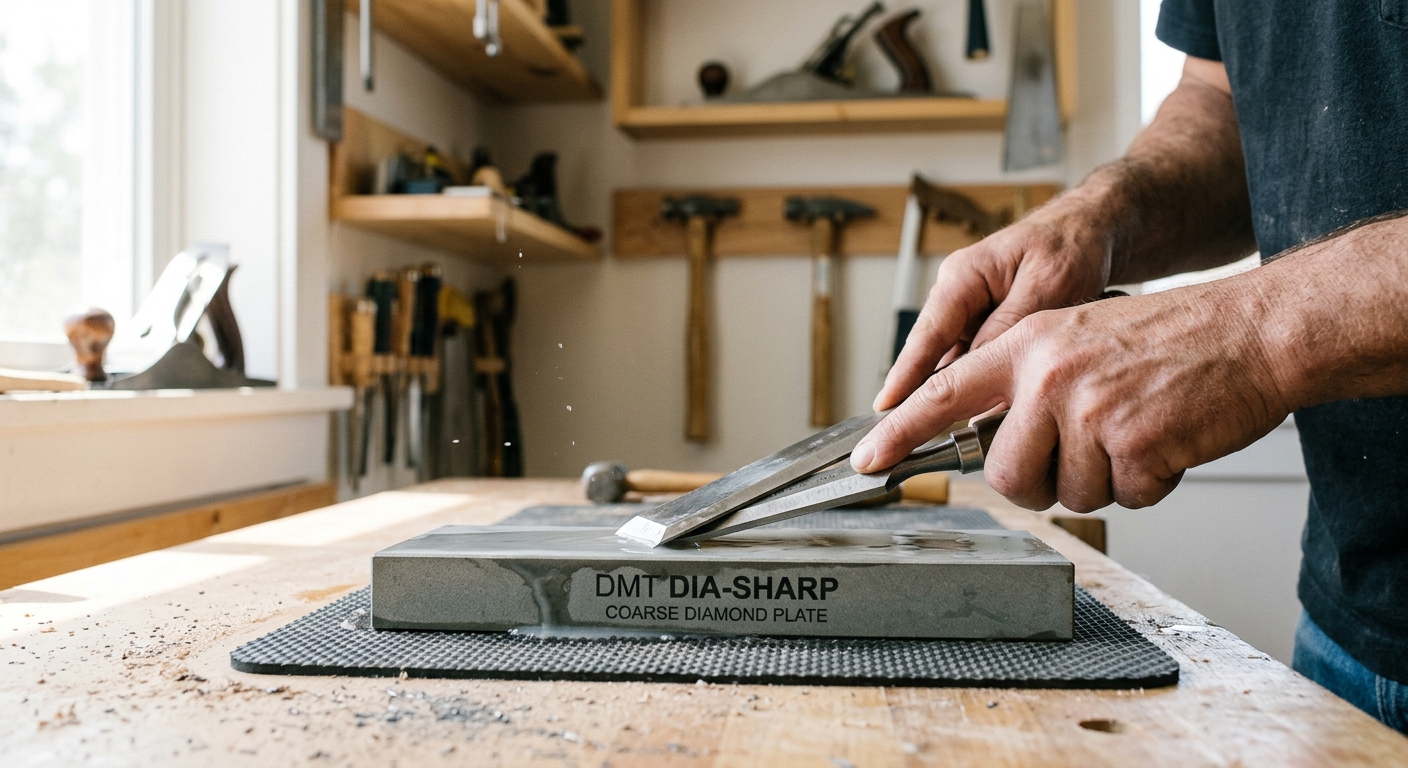
The back of a chisel must be flat – completely flat – for the edge to work. New chisels are often ground but not lapped. Place the chisel back flat on your coarsest stone and work it in circles and figure-eights until the entire back face shows a consistent scratch pattern with no shiny (unhoned) spots near the edge. This step might take 10–15 minutes on a new chisel. Once done, it never needs to be repeated as thoroughly – you just maintain it.
Step 2 – Set the Bevel Angle
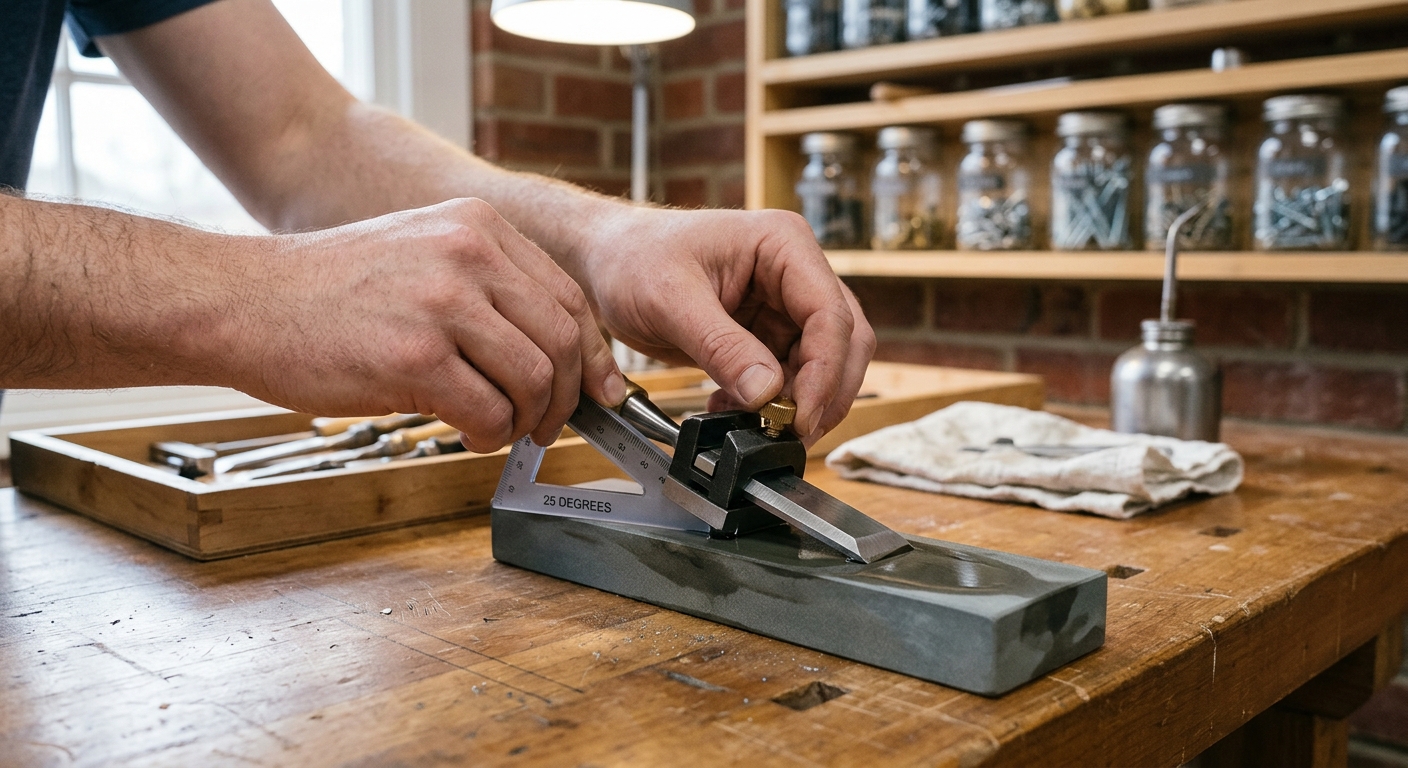
Most chisels are ground at 25 degrees from the factory. You will hone at 30 degrees to create a secondary microbevel – this is faster than honing the full bevel and produces a very durable edge. If using a honing guide, set it to 30 degrees per the guide’s instructions. If freehand sharpening, practice maintaining a consistent angle by feeling the bevel sit flat on the stone and lifting the handle 3–4 degrees above that.
Step 3 – Work Through the Grits
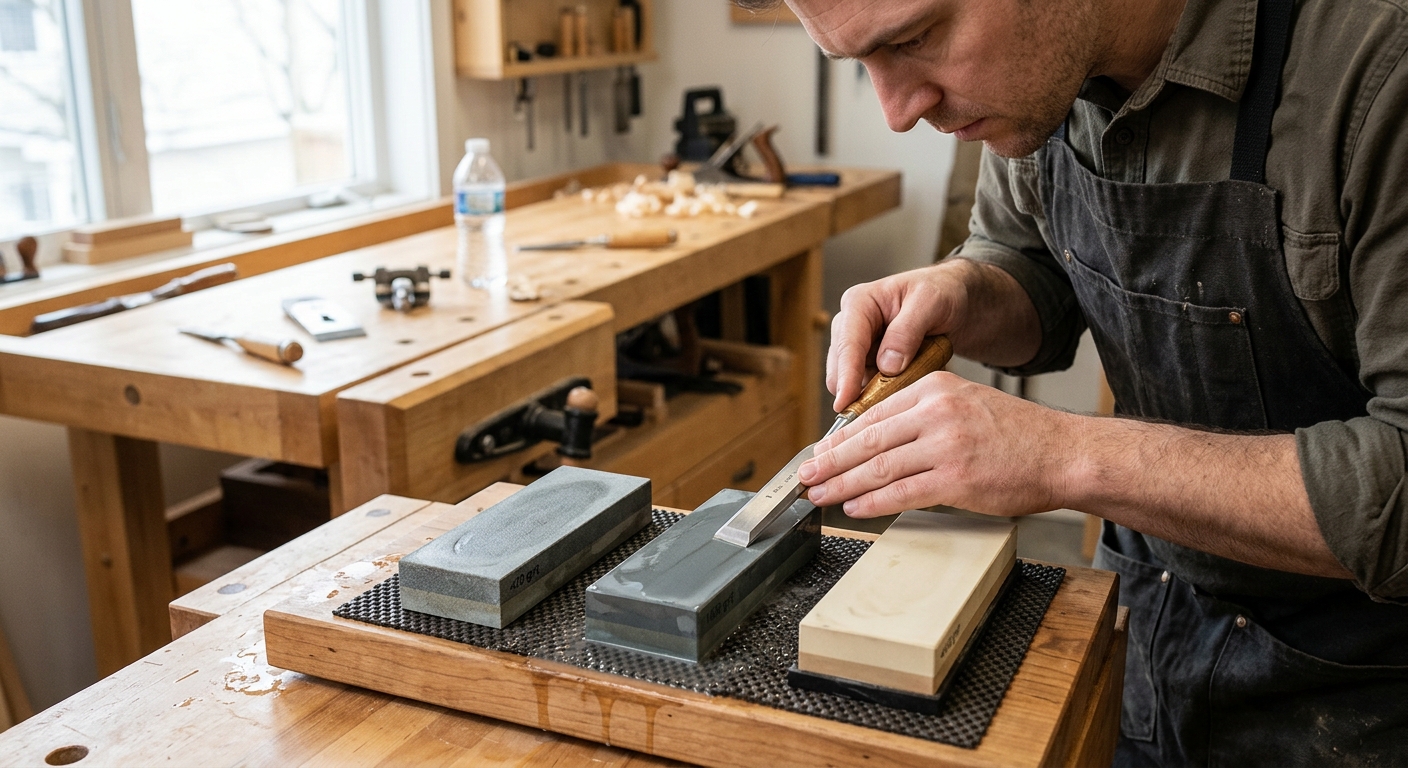
Start on the 800-grit stone. Work the bevel with firm forward strokes, using the full length of the stone. After 10–15 strokes, check for a burr on the back – run your finger across the flat back near the edge and feel for a tiny curl of metal. When you feel the burr across the full width, you have done enough at that grit. Remove the burr with two or three light strokes on the flat back. Move to the 4000-grit stone and repeat with lighter pressure. Finish on the 6000-grit or a leather strop with honing compound.
Step 4 – Test the Edge
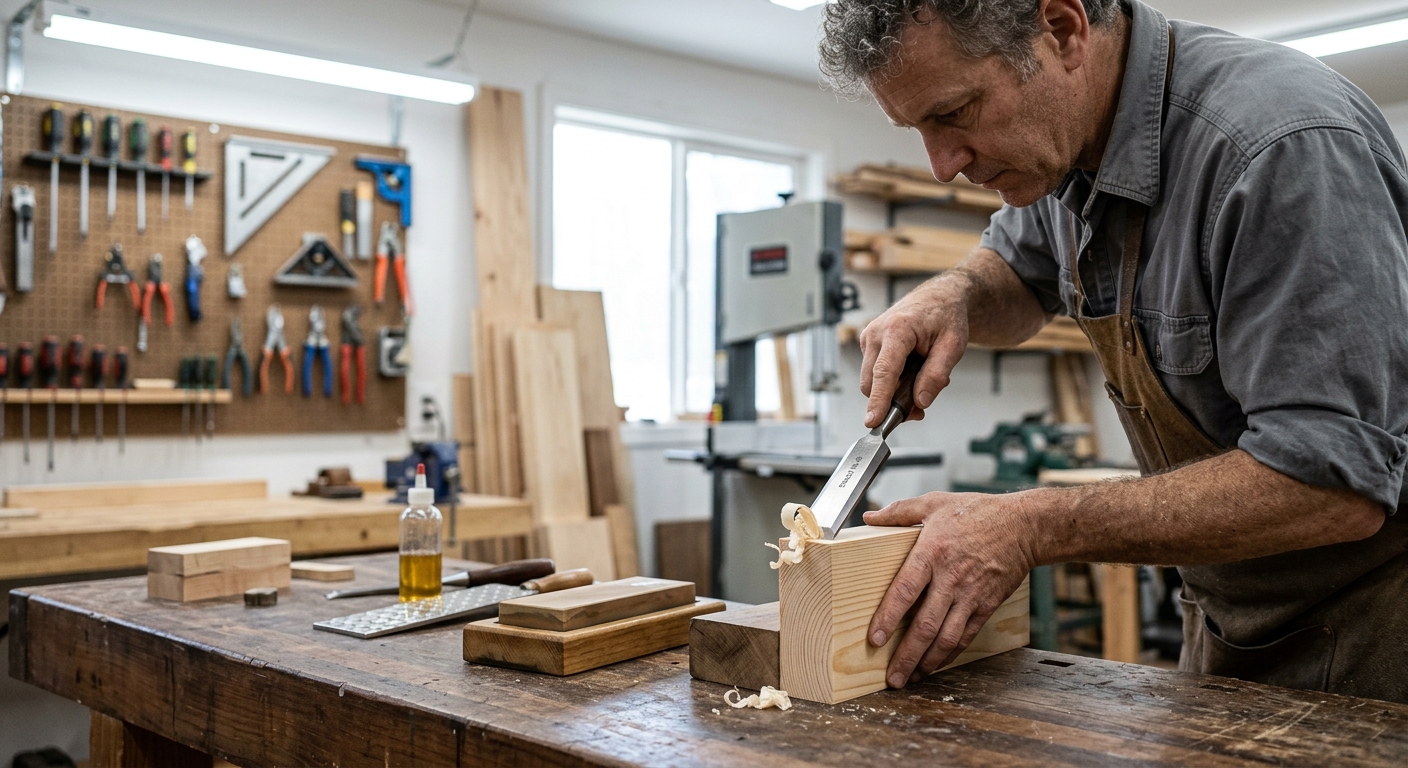
A sharp chisel will shave hair from your arm. Alternatively, hold it at 45 degrees to a piece of end grain and push lightly – a sharp chisel bites and holds. A dull one skids. If it skids, go back to the 4000-grit stone for a few more strokes.
How Often to Sharpen
Sharpen whenever the tool stops cutting cleanly. In practice, a chisel used on softwood might go 30–45 minutes before needing attention. On hardwood, 15–20 minutes. Build the habit of stropping on leather every few minutes – this refreshes the edge without a full sharpening session and extends the time between stone work dramatically.
Common Mistakes
- Skipping the back – if the back is not flat, you cannot get a true edge no matter how long you work the bevel
- Rocking the chisel – an inconsistent angle creates a rounded bevel that will never sharpen properly
- Not checking for a burr – without a burr, you have not removed enough metal at that grit
- Pressing too hard on fine grits – light pressure polishes; heavy pressure scratches