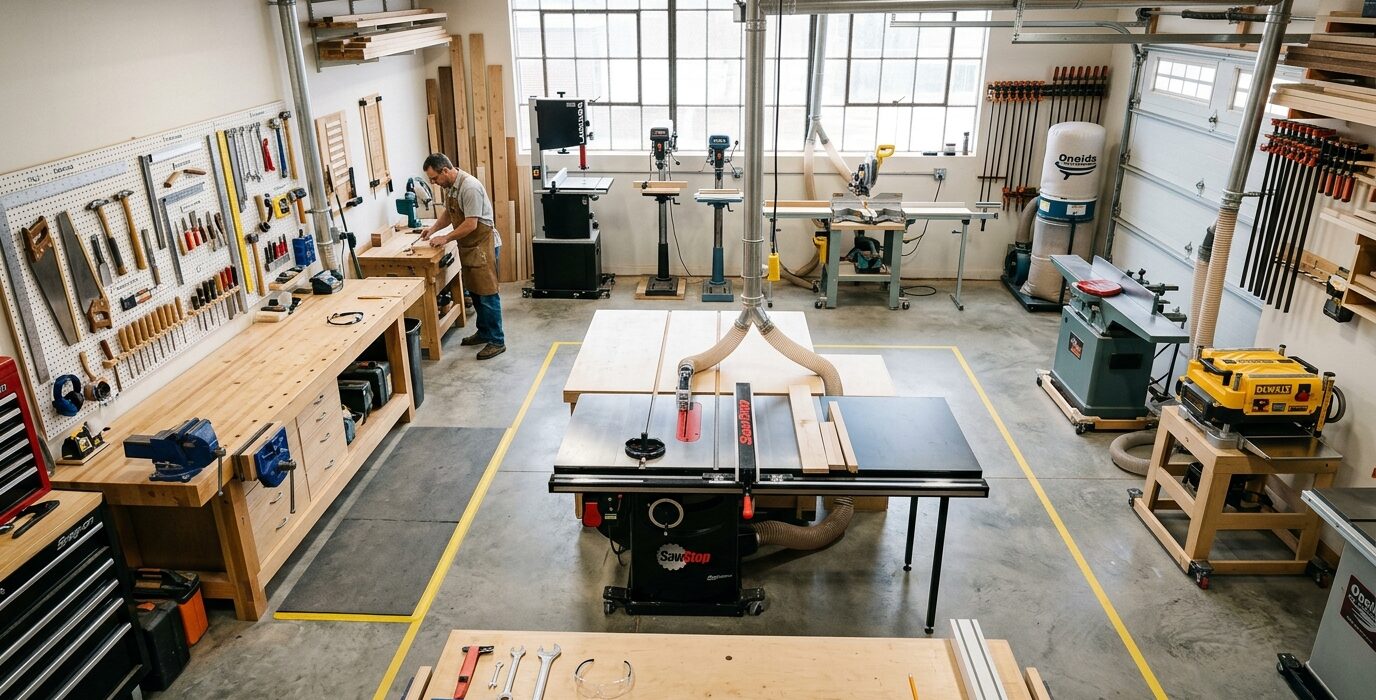
Tune a Hand Plane for Ultra-Thin Shavings
A hand plane set up correctly can shave a continuous ribbon of wood so thin you can read through it – 0.001 inch or less. A hand plane set up incorrectly chatters, tears, skids, and leaves a worse surface than you started with. Tuning a plane is a 30-minute process that transforms a frustrating experience into one of the most satisfying operations in woodworking.
What Tuning Means
Tuning a hand plane means: flattening the sole (the bottom surface), flattening the back of the iron (the critical surface), sharpening the iron to a polished edge, adjusting the cap iron (chip breaker) position, and setting the iron depth and lateral adjustment correctly. Each of these steps matters. Missing any of them leaves a plane that doesn’t perform.
Step 1: Flatten the Sole
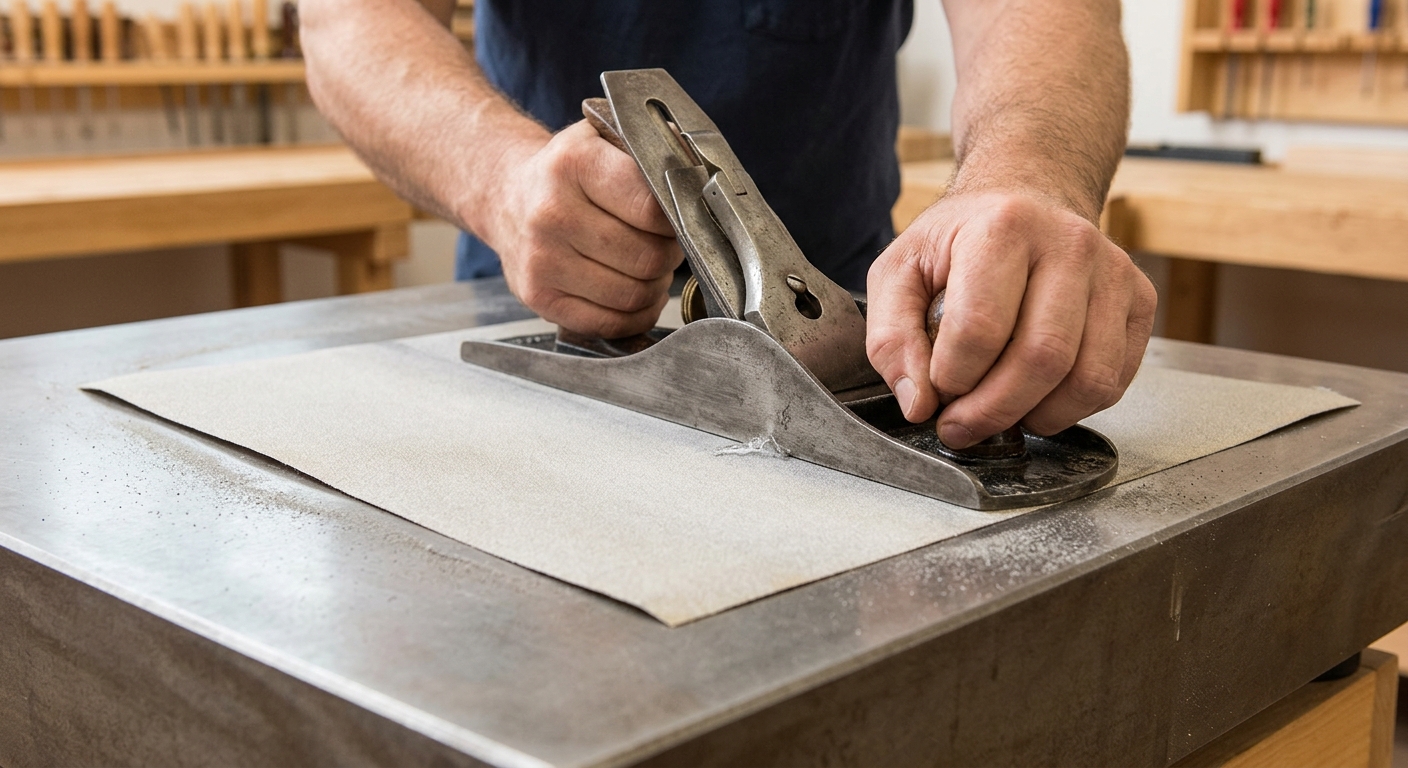
A plane sole that rocks or has a high spot in the center cannot produce a flat surface. Lay a piece of 180-grit sandpaper on a known-flat surface (a machine table or thick glass). Lap the plane sole (without iron) on the sandpaper using figure-eight patterns. Check with a straightedge. The toe, heel, and the area just in front of the mouth must be coplanar – minor hollows elsewhere are acceptable. Remove the iron before lapping.
Step 2: Flatten the Back of the Iron
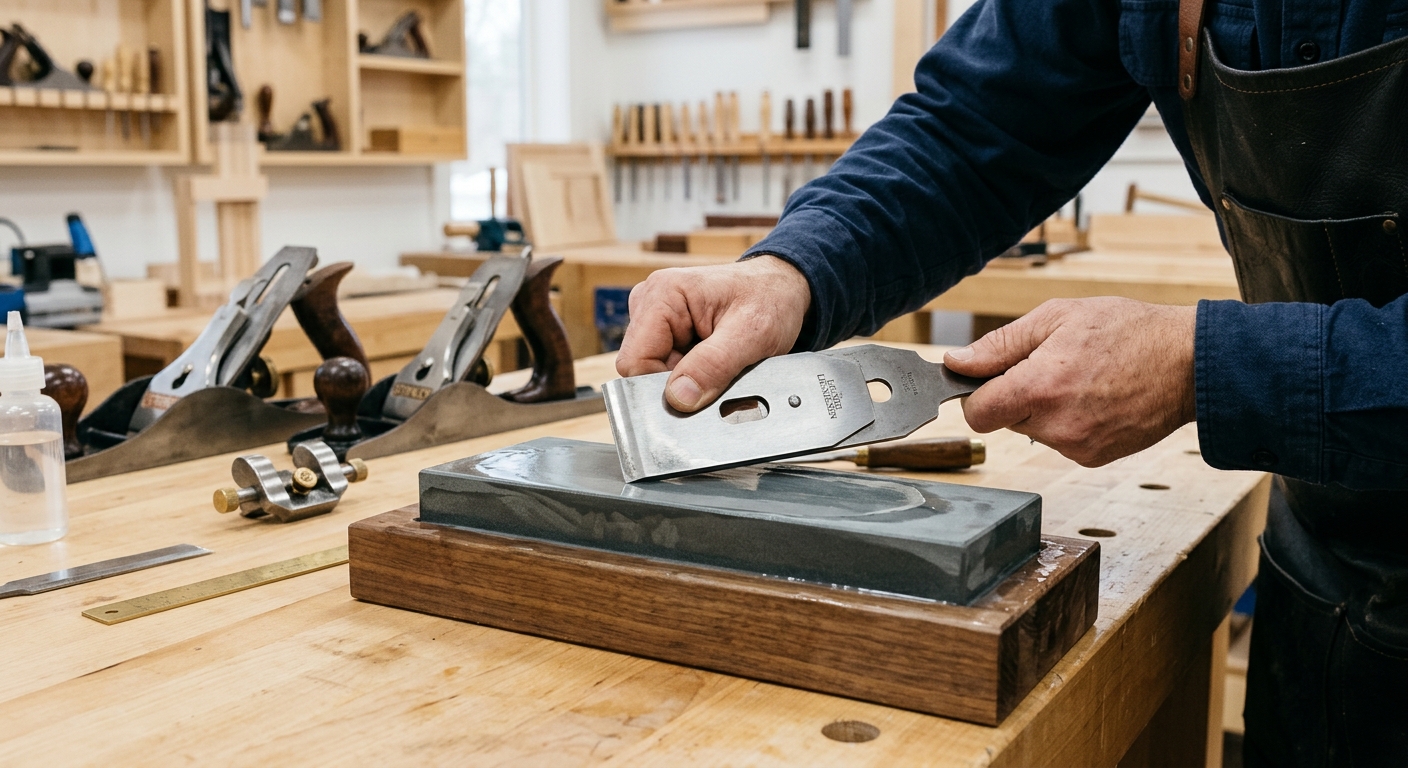
The back of the plane iron (the flat side opposite the bevel) must be dead flat for the full width near the cutting edge. Work the back on progressively finer stones from 220 grit through 6000 grit – using the same technique as chisel sharpening. A light scratch pattern across the full width of the back indicates flatness. This step is one-time work – once flat, maintain with only a few strokes per sharpening session.
Step 3: Sharpen the Iron

Sharpen the bevel at 25-30 degrees to produce a razor-sharp edge. Work through grits: 800, 4000, 6000 or strop. The final edge should shave hair cleanly. Without a razor-sharp iron, no amount of plane adjustment produces smooth shavings.
Step 4: Set the Cap Iron
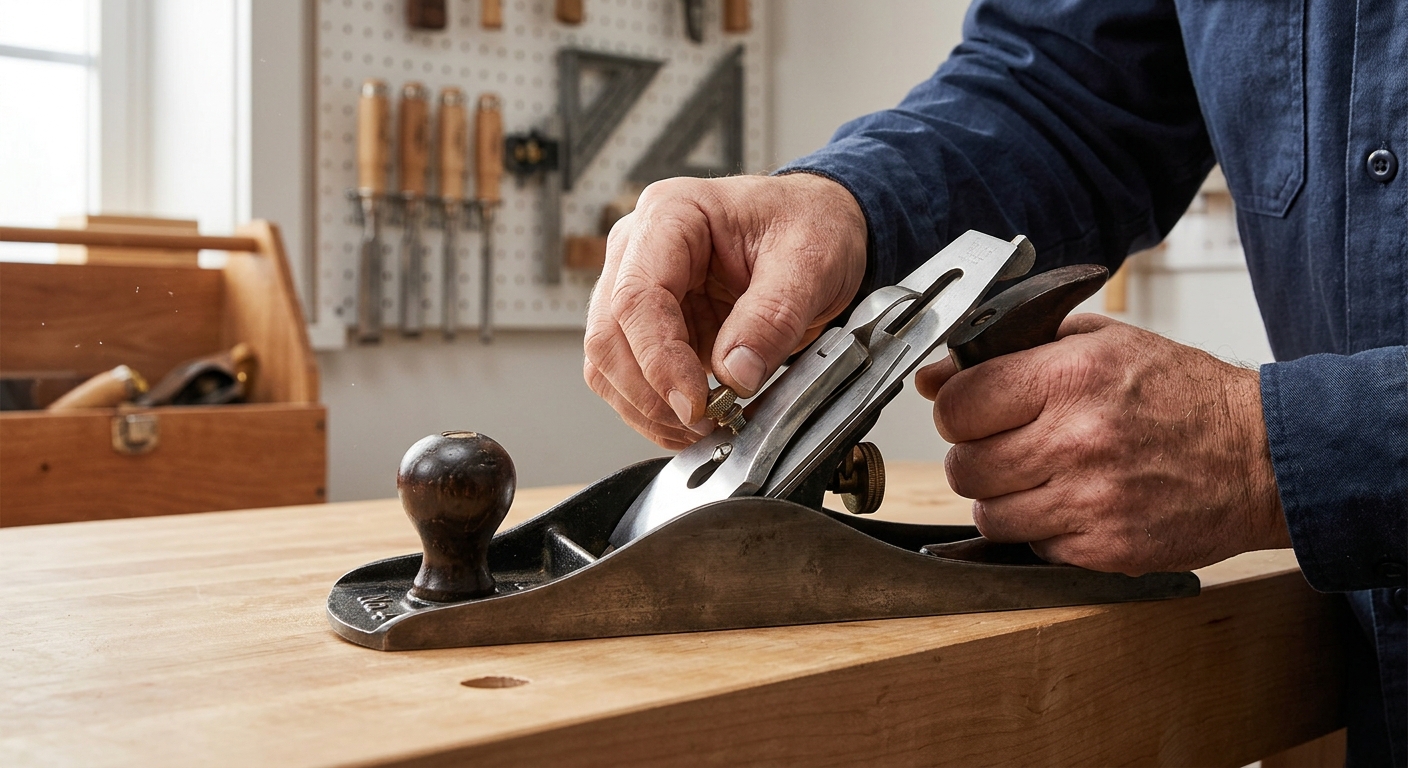
The cap iron (chip breaker) should be set within 1/16 inch of the cutting edge for most smoothing work, and 1/32 inch or less for working difficult grain. A cap iron set too far back allows tearout; too close and it clogs. Seat the cap iron with the screw tight – a loose cap iron causes chatter.
Step 5: Set Depth and Lateral Adjustment
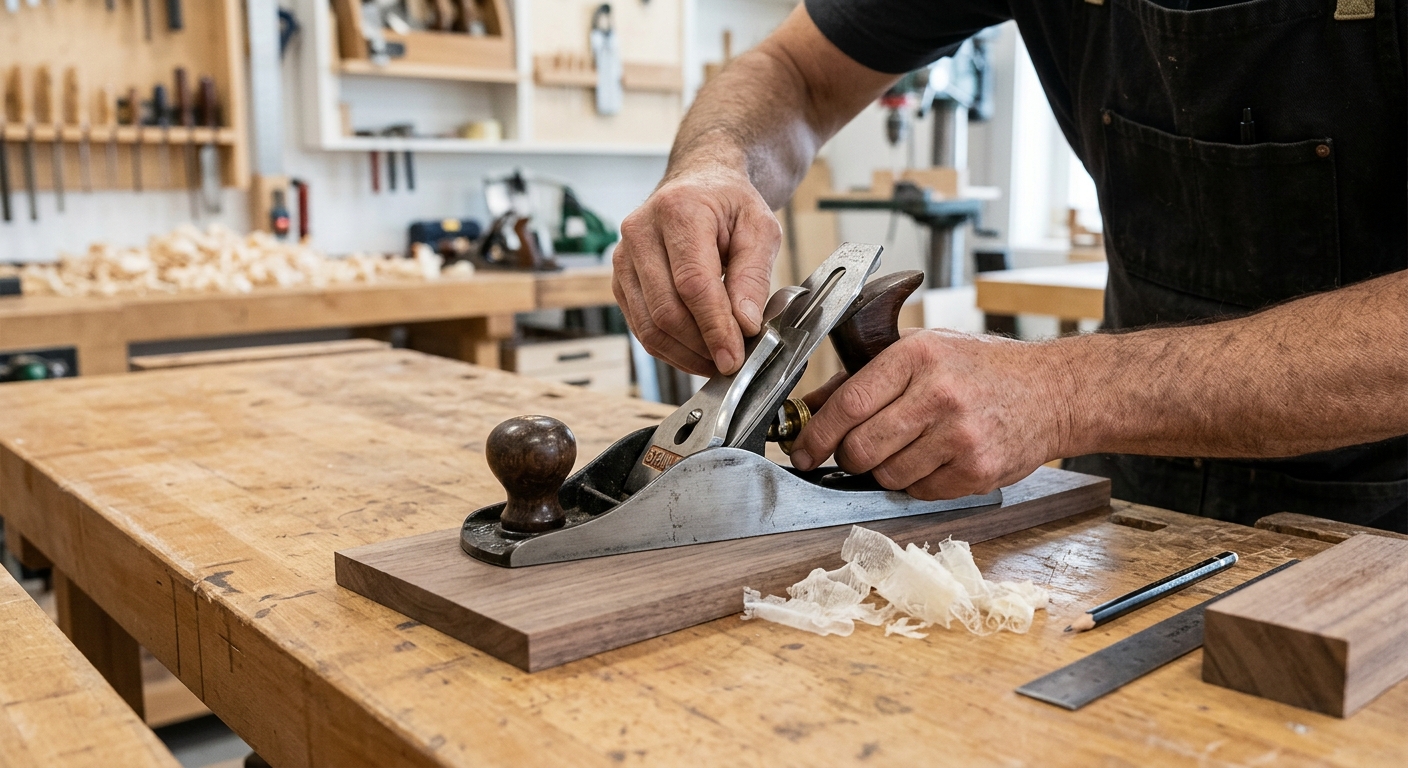
Install the iron with the edge parallel to the sole (use the lateral adjustment lever to correct any tilt). Advance the iron until it just projects through the mouth – you should barely feel the iron projection with your thumb swept across the sole. Back off until no projection, then advance by feel until you can take a thin shaving on scrap wood.
Testing and Adjusting
Test on scrap grain-consistent with your project material. If shavings tear and lift the grain, the grain direction is wrong – plane the other direction, or set the cap iron closer. If the plane chatters, check that the cap iron screw is tight and the sole is flat. If the plane glazes instead of cutting, the iron is dull – sharpen it.
FAQ
What’s the best plane for a beginner?
A Stanley Bailey No. 4 or 4-1/2 (or a modern equivalent from Lie-Nielsen, Veritas, or Woodriver) is the standard first plane. It’s sized for most smoothing operations. Used Stanley planes from the early to mid-20th century are excellent when tuned and available for $20-$80 at antique markets. New premium planes require less tuning but cost $150-$400.