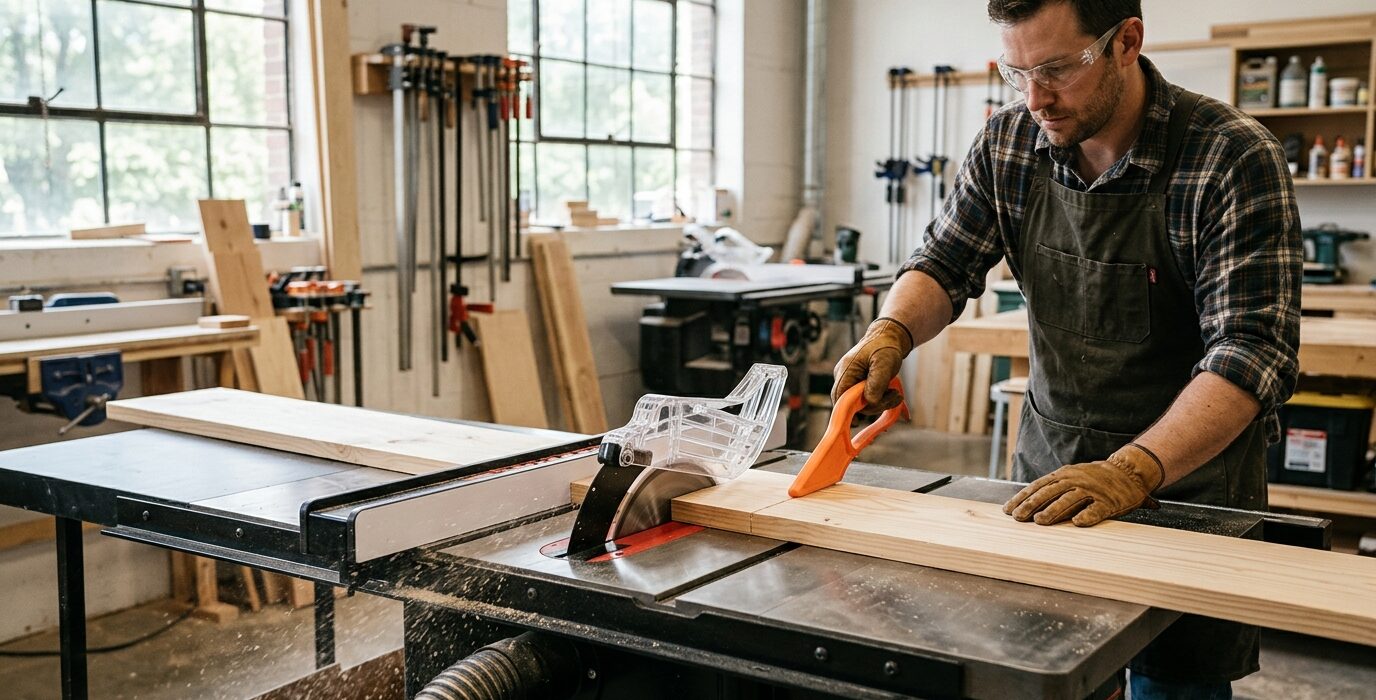
How to Tune Up a Table Saw for Accurate Cuts
A table saw that’s out of alignment produces ripped boards with one face angled instead of square, crosscuts that aren’t 90 degrees, and tenons that don’t fit mortises. If your cuts have been slightly off and you’ve been compensating by sneaking up on the line, your saw needs a tune-up. This is a half-day process that, once done, gives you cuts accurate to within a few thousandths of an inch – better than most furniture joints actually require.
What You’re Aligning
A properly tuned table saw has these relationships dialed in: the blade is parallel to the miter slots (the most critical alignment), the fence is parallel to the blade, the blade is 90 degrees to the table at the 90-degree stop, and the 45-degree stop is accurate at 45 degrees. Every other accuracy issue in the saw flows from these four relationships.
Step 1: Check Blade-to-Miter-Slot Alignment
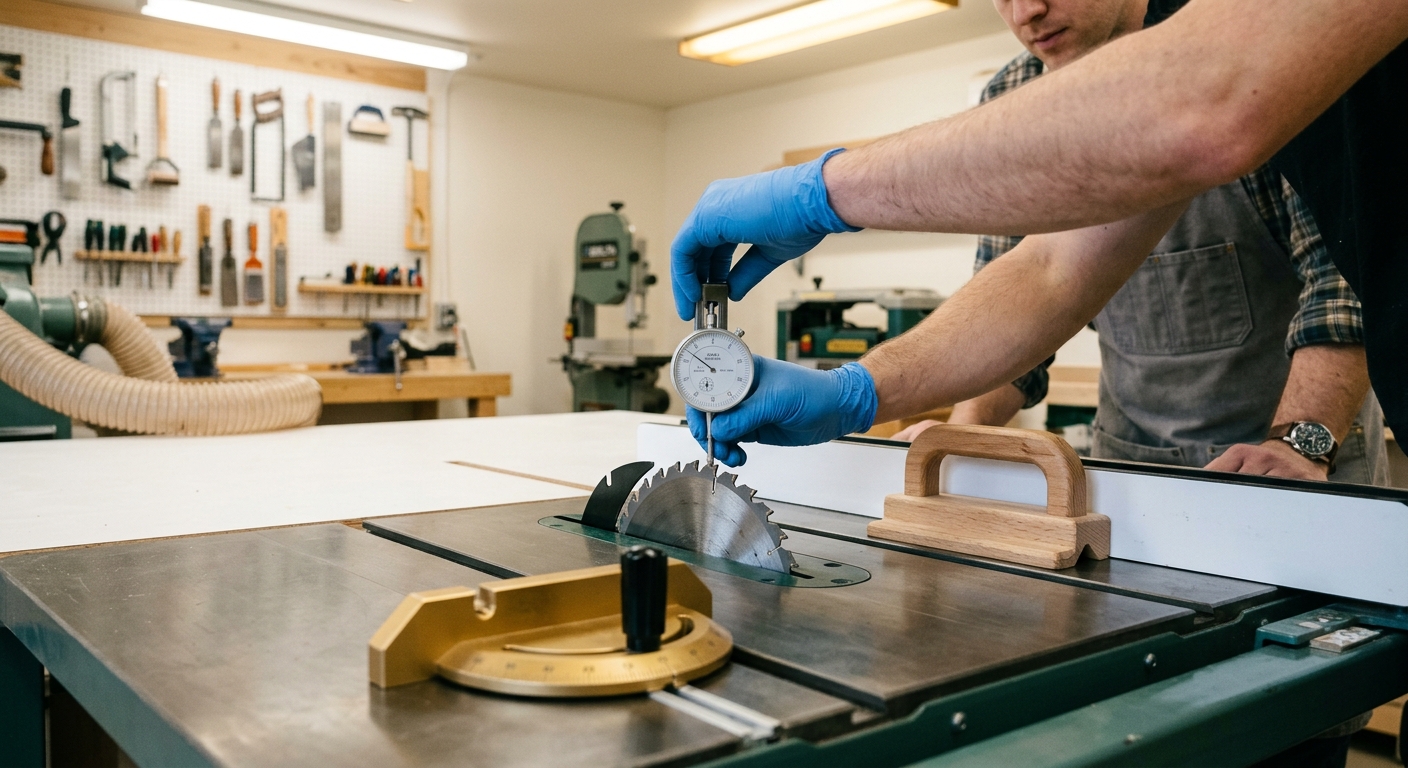
This is the master alignment. Raise the blade to full height. Mark a tooth on the blade with a pen. Measure the distance from that tooth to the miter slot at the front of the blade, then rotate the blade to bring the same tooth to the back and measure again. The two measurements should be identical. If they differ, the blade is not parallel to the miter slot – adjust the trunnion or the top per your saw’s adjustment mechanism.
Step 2: Set the Fence Parallel to the Blade
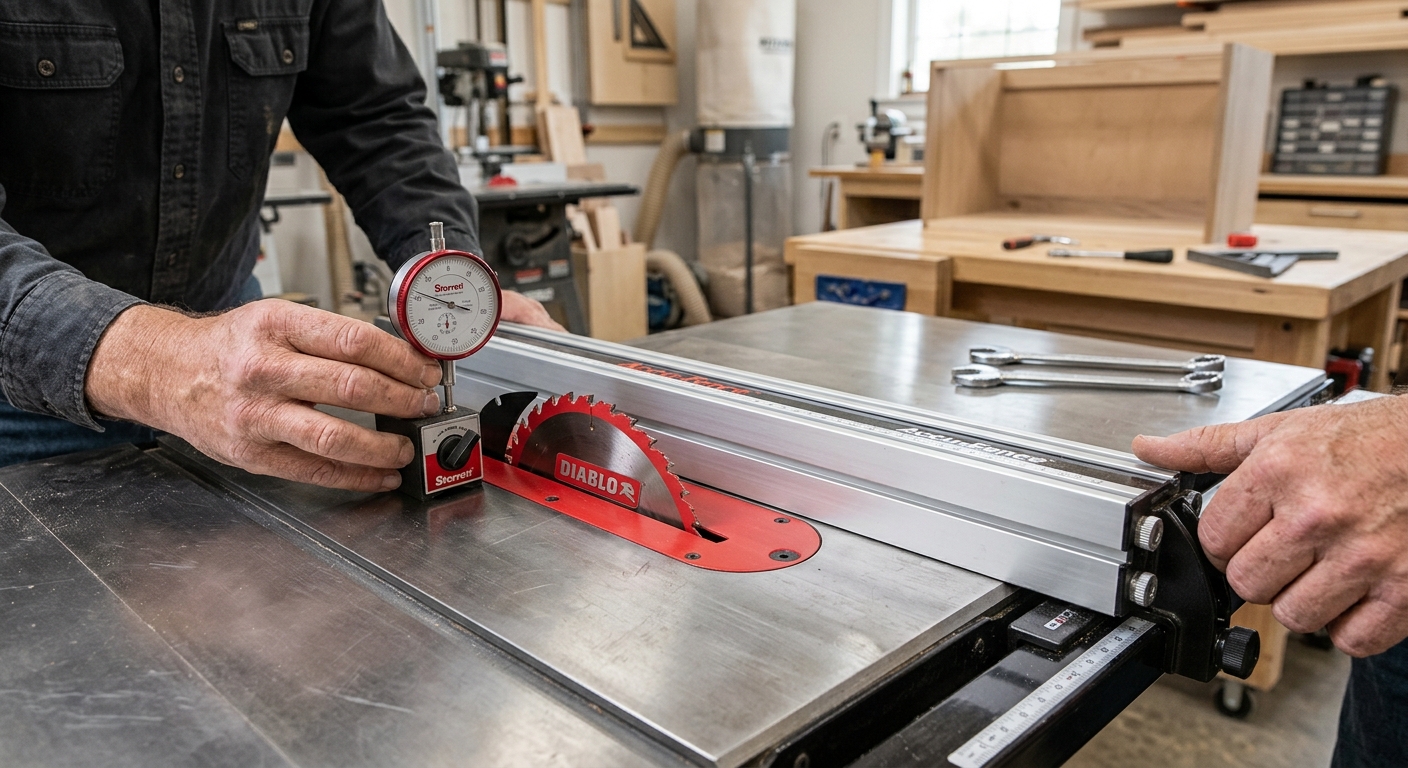
Once the blade is parallel to the miter slot, set the fence so it’s parallel to the blade. Lock the fence against a straightedge placed in the miter slot. The fence face should be parallel to the straightedge with 0 to 0.003-inch toe-out (the fence can be very slightly open at the back – this prevents binding). Never have the fence toed in at the back.
Step 3: Square the Blade to the Table
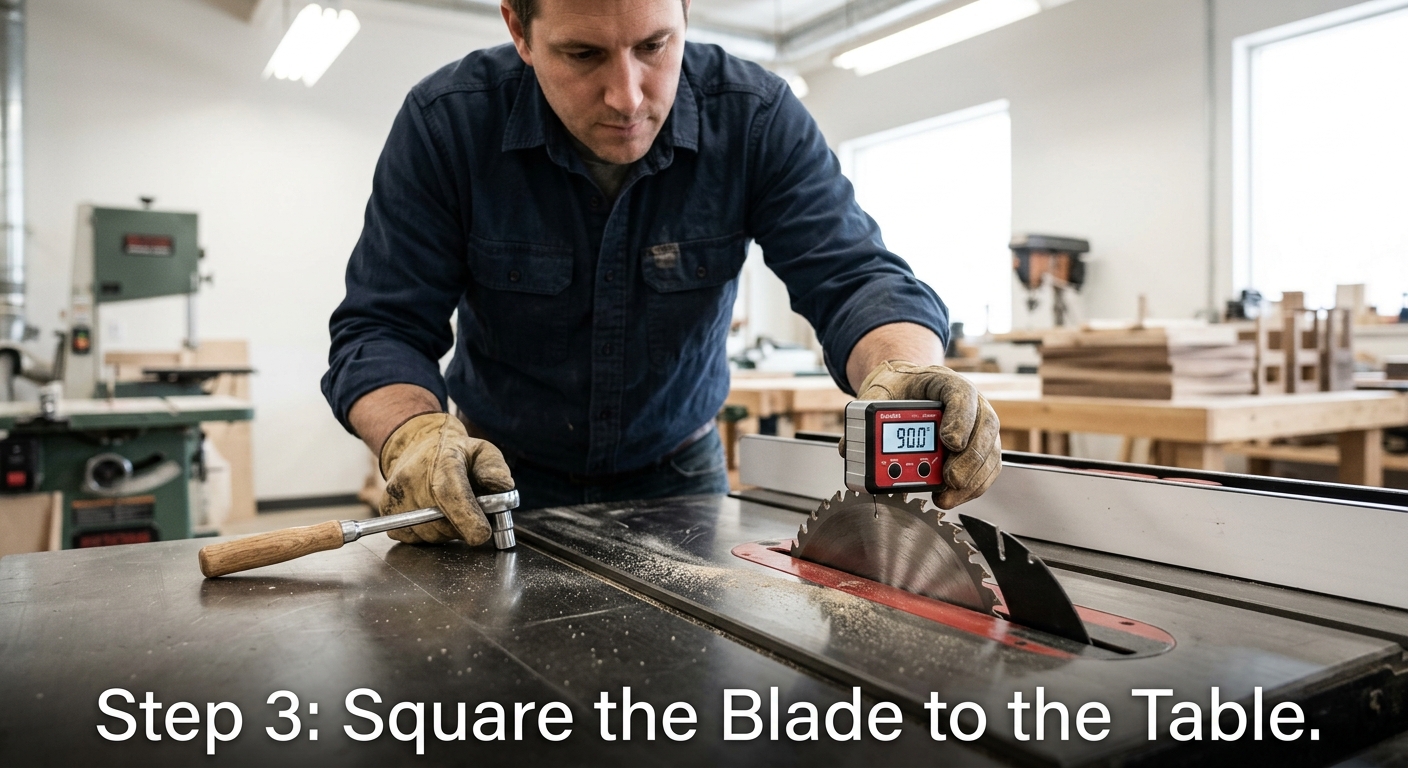
Set the tilt to the 90-degree detent. Place a reliable machinist’s square against the blade body (not the teeth). The blade should be perfectly square to the table. If not, adjust the 90-degree stop – most saws have a bolt that contacts a stop to set the 90-degree position. Adjust the stop until the blade reads square, then retighten.
Step 4: Set the 45-Degree Stop
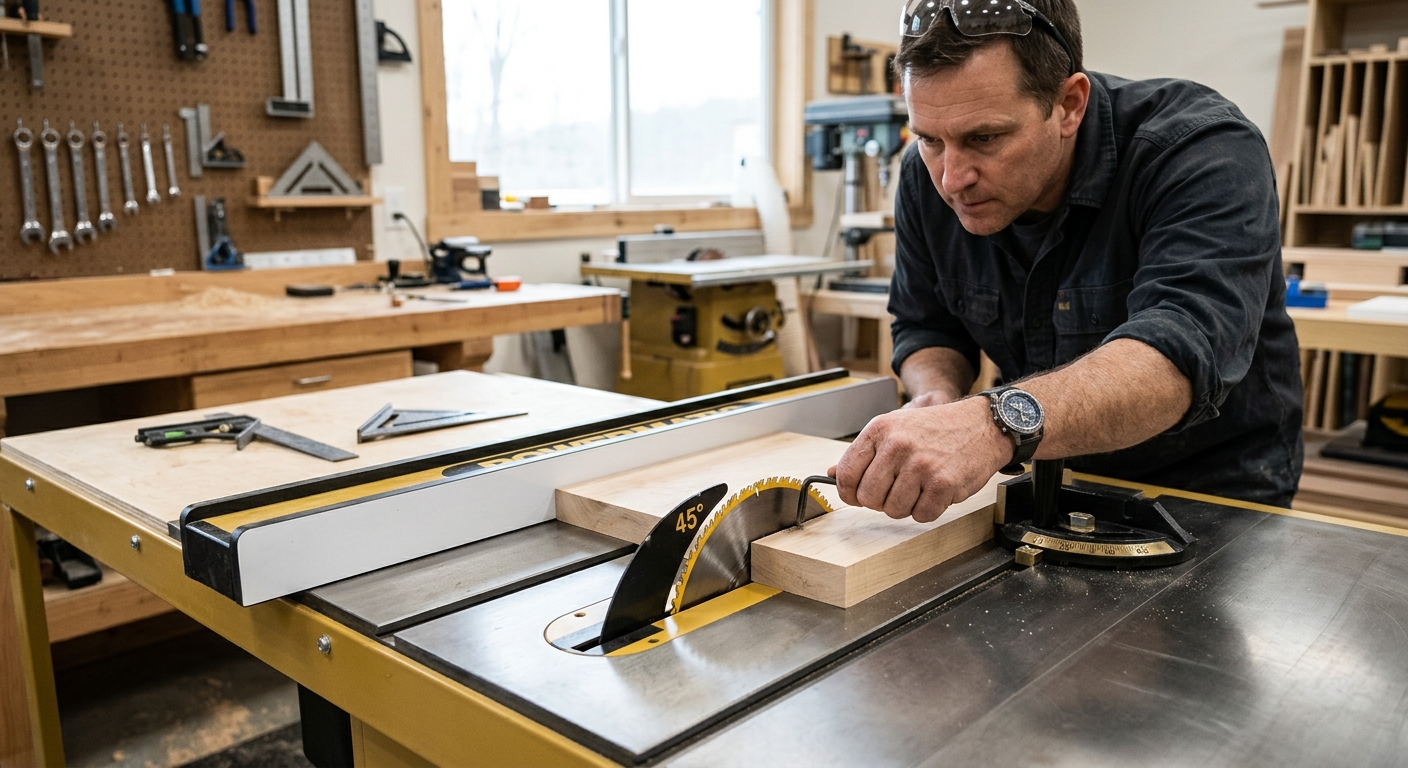
Tilt the blade to the 45-degree detent and check with a reliable 45-degree reference (a combination square or known-accurate miter gauge). If the stop is off, adjust the 45-degree stop bolt. Verify by making a miter cut on scrap and checking that two pieces come together at exactly 90 degrees.
Step 5: Replace or Clean the Blade
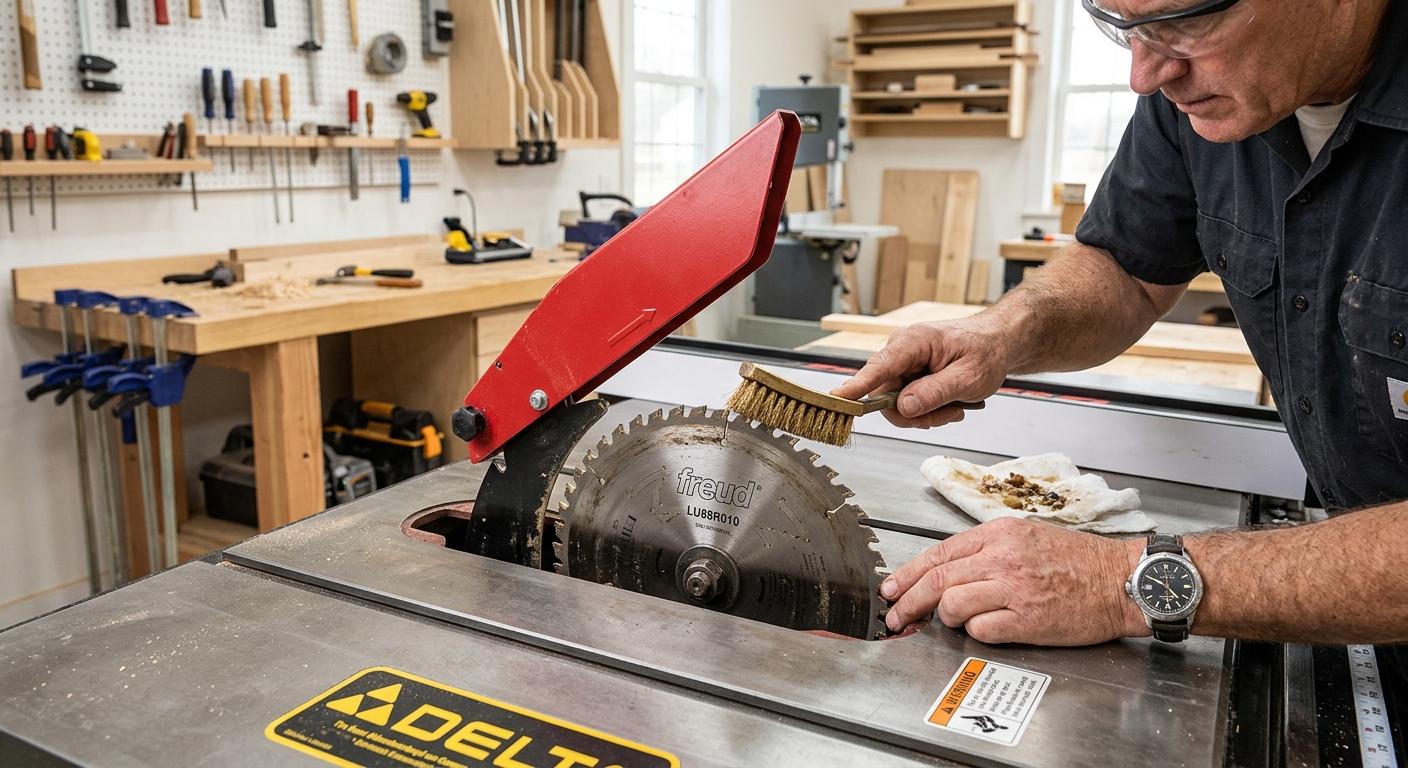
A dull, dirty blade is the most common source of poor cut quality. Remove the blade and clean pitch buildup with a dedicated blade cleaner or oven cleaner. Inspect for dull or missing carbide tips. A blade with 2-3 missing tips or visibly rounded carbide needs to be replaced or resharpened. After cleaning, reinstall and retighten to spec.
Pro Tips
- Use a dial indicator for critical alignments. A $25 dial indicator in a magnetic base gives measurements accurate to 0.001 inch – far more accurate than a ruler and much faster than guessing.
- Document your settings. After tuning, write down the measurements you achieved and post them inside the saw cabinet. If the saw gets knocked or moved, you have a baseline to return to.
FAQ
How often does a table saw need tuning?
A saw that doesn’t get moved should hold its alignment for months or years. Tune after any move, after a significant impact (dropping a heavy board on the table), and any time your cuts start showing unexplained error. New saws sometimes need tuning right out of the box – don’t assume factory setup is accurate.