How to Use Clamps Properly – Pressure, Placement, and Avoiding Mistakes
Most woodworkers own clamps but few have been taught to use them correctly. Clamps look simple: put one on, tighten it, wait. But incorrect clamping causes more glue joint failures, more panel distortion, and more frustration than almost any other technique error. This guide covers the full method: how to calculate clamping pressure, how to position clamps to avoid bowing and racking, how to identify when you’re over- or under-clamped, and the most common clamping mistakes that cause glue joint failures.
How Much Clamping Pressure Is Enough
The goal of clamping is to hold the joint in position while glue cures – not to squeeze out as much glue as possible. A properly glued joint needs only enough pressure to bring the surfaces into consistent contact and to close any small gaps. For most woodworking joints with good-fitting surfaces and PVA glue, moderate hand-tight pressure is sufficient. You should see a thin bead of glue squeeze out along the joint line – this confirms good contact. If no glue squeezes out, you’re not getting contact. If glue pours out in large quantities, you’ve applied too much glue, not too little pressure.
Clamp Positioning to Avoid Bowing
When clamping a panel glue-up, alternating clamps above and below the panel prevents bowing. If all clamps are on one side, the clamping force curves the panel toward the clamps. Alternating top and bottom clamps creates opposing forces that cancel out and keep the panel flat. Space clamps every 8 to 10 inches for hardwoods, every 12 to 16 inches for softwoods – hardwoods distribute pressure less freely and require closer spacing.
Avoiding Racking in Box and Frame Assemblies
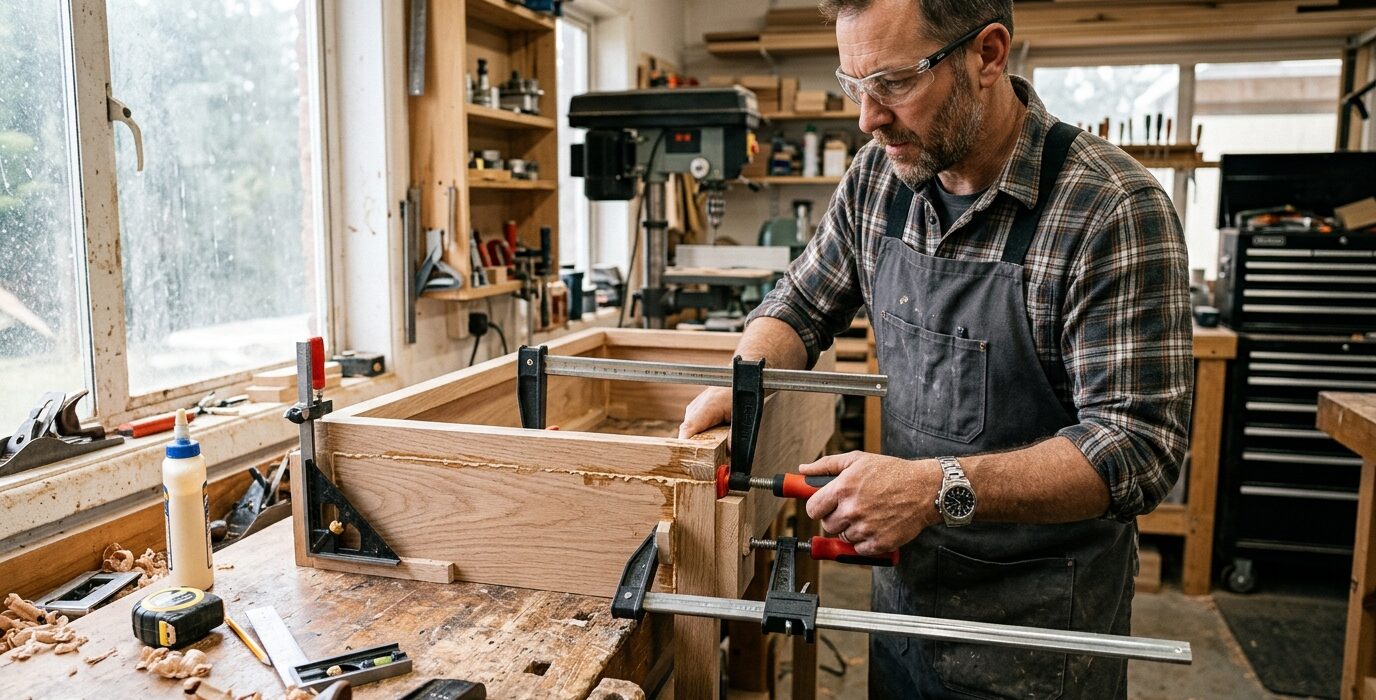
When clamping a box or frame, out-of-square clamping pressure racks the assembly out of square. Before the glue sets, check that diagonals are equal – if they’re not, a clamp placed diagonally across the long diagonal will pull the assembly into square. This is the most reliable squaring method and works for any size assembly.
Cauls for Panel Glue-Ups
A caul is a stiff board placed between the clamp pad and the work to distribute pressure evenly. Without cauls on a panel glue-up, clamp pressure concentrates directly under the jaws and falls off rapidly between clamps, leaving joints between clamp positions under-pressurized. Cauls spread this force. A slight crown (a few hundredths of an inch higher in the center) in a wooden caul focuses pressure at the joint line where it’s needed most.
Common Clamping Mistakes
- Too little time. PVA glue needs at least 30 minutes under clamp pressure before the joint can be disturbed; full cure takes 24 hours. Removing clamps at 20 minutes to “check it” breaks the joint before it’s set.
- Forgetting wax paper. Clamp pads, cauls, and any backup wood touching a glue-up need wax paper between them and the work, or they’ll glue themselves to your project.
- Dry fitting without clamps. Always do a full dry assembly with all clamps in place before applying glue. Discovering you need one more clamp when glue is setting up is a very bad moment.
FAQ
Can I use too many clamps?
Not really – but you can apply too much pressure. For most joints, moderate hand pressure is correct. Cranking clamps to their maximum torque can crush soft wood fibers near the joint and actually weaken the glue line by squeezing out too much glue.
How do I clamp something with an unusual shape?
Band clamps handle curves. Wedge-and-caul setups handle angled glue joints. Rope and wedge clamping – wrapping a rope around an assembly and twisting a stick through it to tighten – handles large or irregularly shaped assemblies where conventional clamps won’t reach.