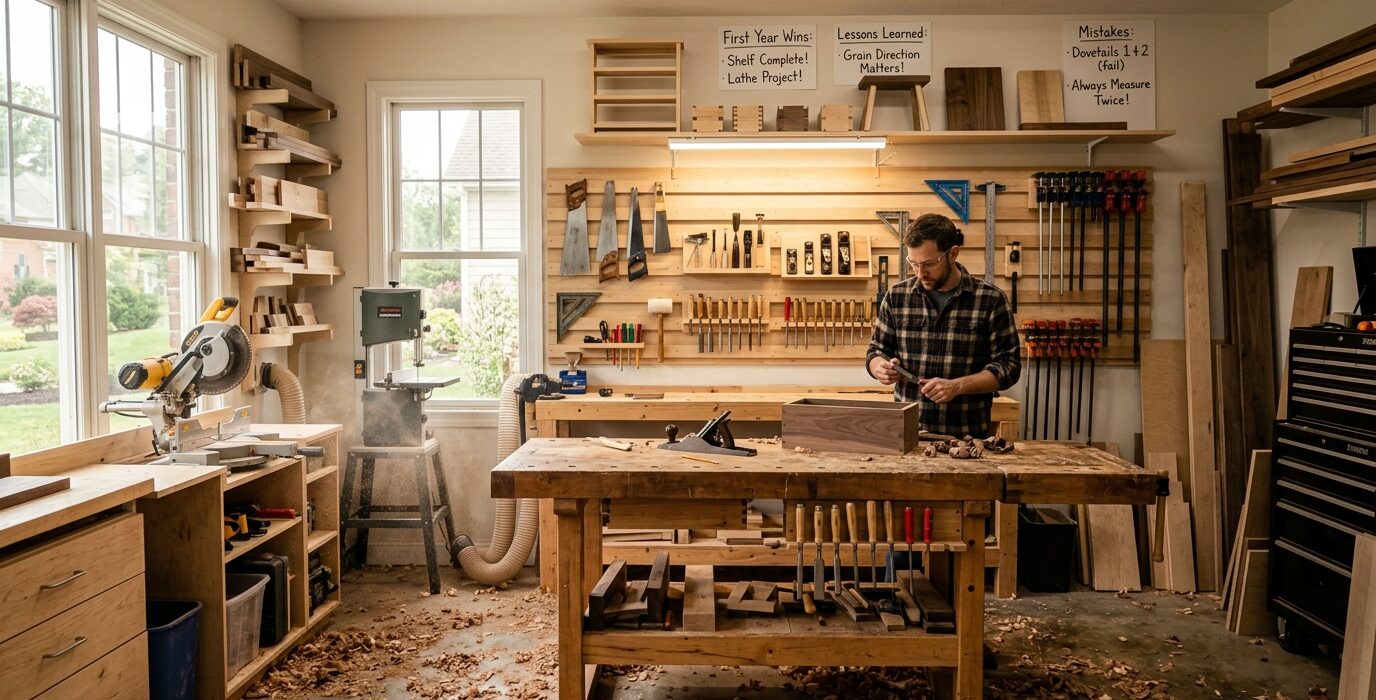
From Nothing to a Shop in Year One
This tour is about the first year of a shop build – the mistakes made, the things learned, and what a first-year shop actually looks like compared to what you imagine it should be. The owner started with nothing: an empty garage, no tools, and a list of projects he wanted to make. One year later, the shop is functional, improving, and producing real work.
Month 1: The Bench First
The first project was the workbench – built with rental tools (a circular saw and drill from the hardware store) from 2x4s and plywood. The bench took two weekends and cost $140. It’s not the best bench in the shop (future build planned), but it works and building it was the right introduction to the space and the skills needed.
Months 2-4: The First Real Tools
In order of purchase: a drill/driver set ($80 used), a random orbital sander ($45 used), a miter saw on a stand ($200 used). These three tools enabled 90% of the first year’s projects. The miter saw was the most transformative – accurate crosscuts without a table saw are the foundation of most home improvement work.
Month 5: The First Mistake
A router was bought – a mid-range trim router – before knowing what it would be used for. Ninety days later, it had been used twice. The lesson: buy tools for a specific project, not in advance of a vague need. The router has since become a daily driver, but the first purchase was ahead of the skill and the project pipeline.
Months 6-12: The Table Saw and Organization
A contractor table saw (used, $300) arrived in month 6 and immediately revealed the need for outfeed support, a decent blade (the stock blade was terrible), and a better fence (the stock fence was worse). These three upgrades cost another $200 and transformed the saw from frustrating to capable. Organization came last: French cleats in month 10, a proper clamp rack in month 12.
End of Year 1: What the Shop Can Now Do
- Break down sheet goods accurately
- Make furniture-quality crosscuts and rip cuts
- Basic joinery with pocket holes and biscuits
- Sand and finish furniture
- Most home repair and improvement tasks
Biggest Lesson: Organization Before More Tools
The year-end reflection: buying more tools earlier was less valuable than getting better at using fewer tools, and organizing the shop earlier would have saved hours of hunting for items. The French cleats added in month 10 made every session more efficient than any tool purchase in months 7-9.
FAQ
What would you tell someone starting a first-year shop?
Build the bench first. Buy used tools. Don’t buy anything without a specific project in mind. Organize early. And expect the shop to be messy, imperfect, and wonderful – first-year shops always look different from the dream shop, and that’s completely normal.